
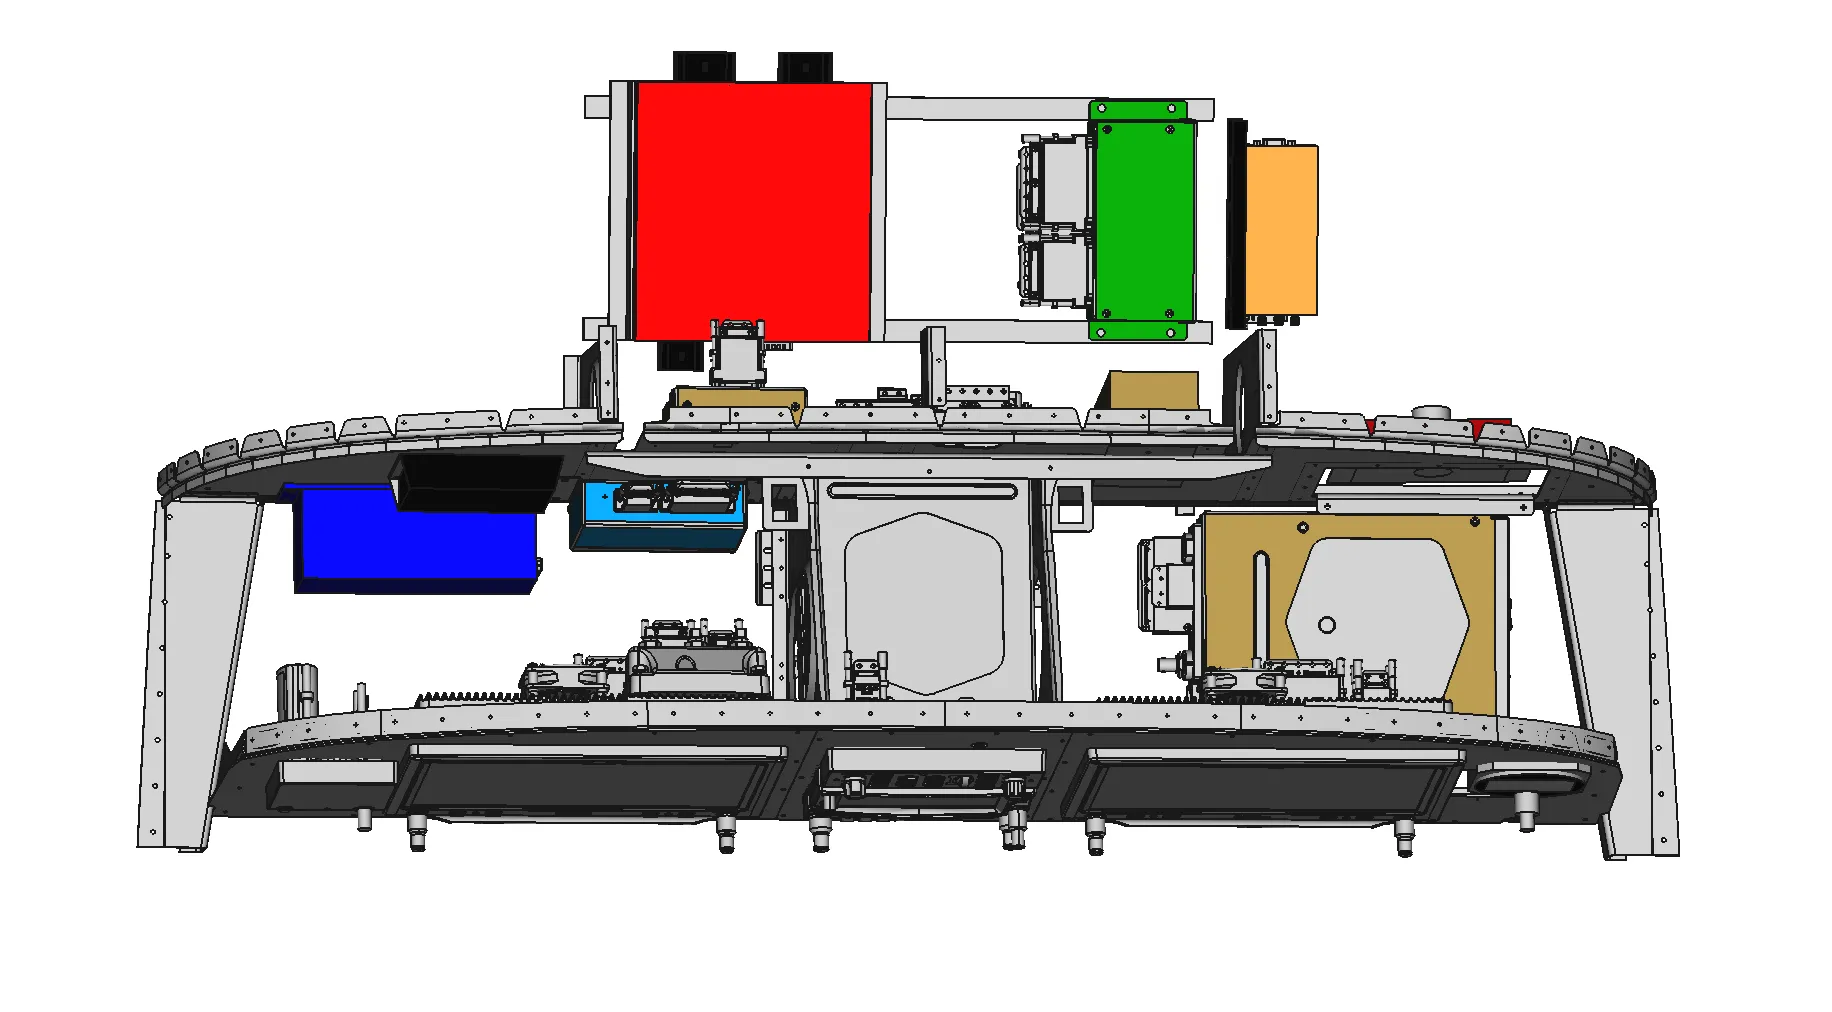
Avionics Bay Supports
I made the supports from 1”x1/2”x1/8” aluminium angle, spacing them to match the hole span on the GEA 24.
I match drilled two holes in each bracket for 1/8” rivets.
Having clecoed one end of the VPX brackets I match drilled the other ends to ensure a correct fit.
To allow easy removal of the units through the Avionics Bay Access Hatches I decided to use nutplates.
Regulator Door
I don’t yet have a B&C LR3D Regulator for the standby alternator, but I made a foam model to check I’d be able to open the access door I’d planned.
Seems OK, so I went ahead and match drilled holes in the flange to attach the hinge.
Most of the rivets in the F-01455B Map Box Doubler had to be removed, and then replaced with nutplates …
… or flush rivets to allow the door to close and be secured with screws.
Installation
All the parts primed & painted ready for installation.
After riveting on the support brackets, I used AN3 bolts to attach the angles.
Back Up Battery, GAD 29 & GD 40 CO Detector
To accurately position the various boxes I used paper templates to mark the holes.
It took a bit of time to work out what hardware was needed to attach everything.
I wanted to use the minimum bolt lengths, but also have enough grip to ensure there was no thread in the holes.
Since the TCW Back Up Battery may well need removal during its life, rather than using nuts I attached nutplates to small pieces of aluminium.
This should make it easier to remove with the restricted access in front of the sub-panel.
VPX Pro, Trig TY91 Radio, GAD 27 & GEA 24
All these boxes fitted as planned in FreeCad.
Air Avionics AT 1
I decided to fit the Air Avionics AT 1 box on the outboard face of the F-01456-R FWD FUSE RIB.
I should be able to access this unit via the Regulator Door.
GTX 45R Transponder
The transponder fits just fine under the access door, and there should be enough room for any switches required under the left display.
B&C LR3D Regulator
The regulator door will also allow access to the AT1.
OK … deep breath … wiring next!