
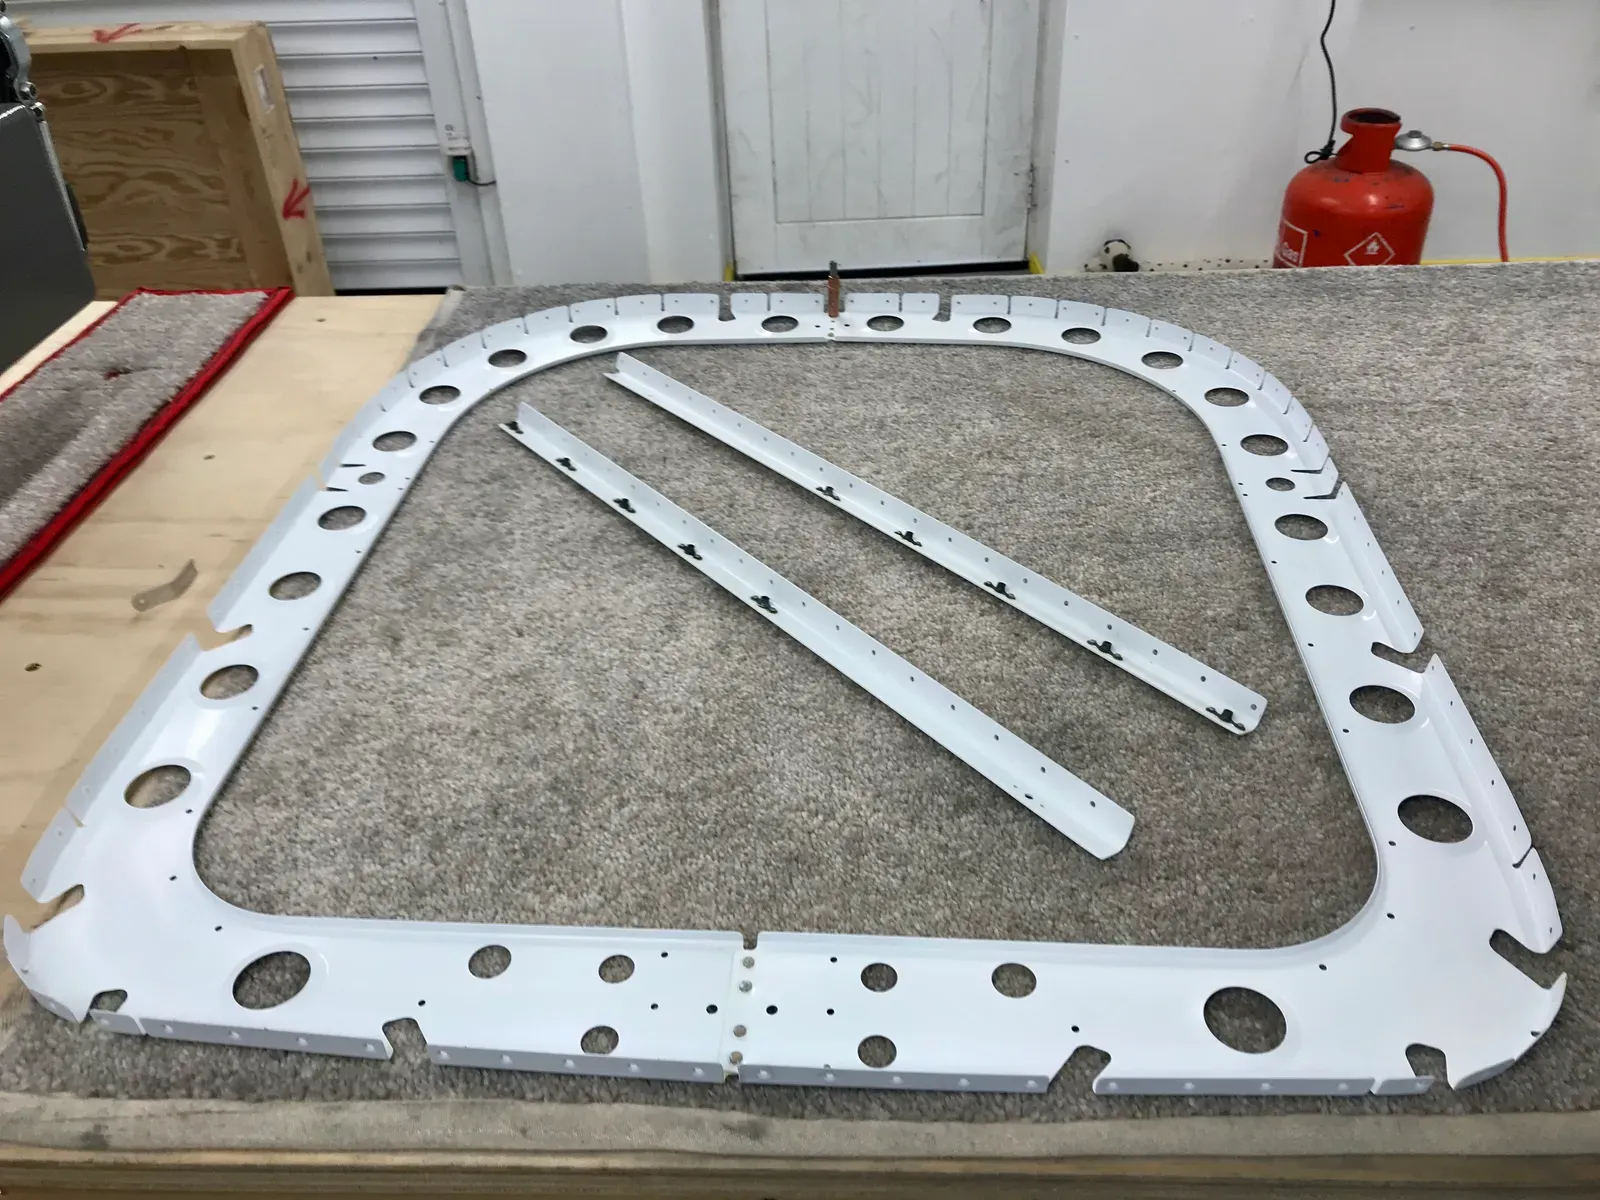
The first jobs are to rivet together the bulkheads. Managed to get the squeezer on all rivets using the Flange Yoke. A bit of thought required to decide on which side to put the Manufactured Heads, trying to abide by the basic rules of: Head on thinner material, and where possible on small tabs to improve chance of them sitting flat. Some places it wasn’t possible to do this and orientate the squeezer.
Forgot some Dimples - ooooh nooo!
The manual says dimple the flanges of the F-01410, but does not mention the F-01410A which is attached. I try to read well ahead as advised by Vans, but I missed that the F-01410A flange does indeed need dimpling.
Here’s the flange … as you can guess, due to the surrounding structure, top tip is not to forget to dimple this before riveting if you fancy an easy life!
More Bulkheads
Straightforward to access these rivets.
Beginning the assembly
Once you’ve done the bulkheads, next up is to start connecting it all together. Just a couple of rivets needed the gun/bar, on the top of the F-01406B bulkhead where the nutplates got in the way of a yoke.
Bottom Skin
The bulkhead assembly is clecoed to the bottom skin whilst hanging upside down to keep it more stable I guess. Stiffeners also clecoed on, and then a decision … how to do the riveting?
Some people advocate back riveting, but since Tim and I were doing this together, we decided to try the gun and bucking bar. It seemed to start well, so we pressed on and did it all by this method. Quite pleasing results actually … phew!

Update ... see HERE for a TOP TIP about a rivet to leave out until later!!
Here it is all done…
Next job is to prepare the Aft Lower Skin and Side Skins ready for more assembly. So far so good.