
Back riveting the ribs to the skins, the easy bit! Other rivets in this stage of the elevator build are challenging … trying to work out how to get access and the best tool to use … hence Chinese Puzzle!
AN426AD3-3’s
After all the back riveting, these are the number of rivets left in the pot … wondered at one stage if I was going to have enough!
Horns
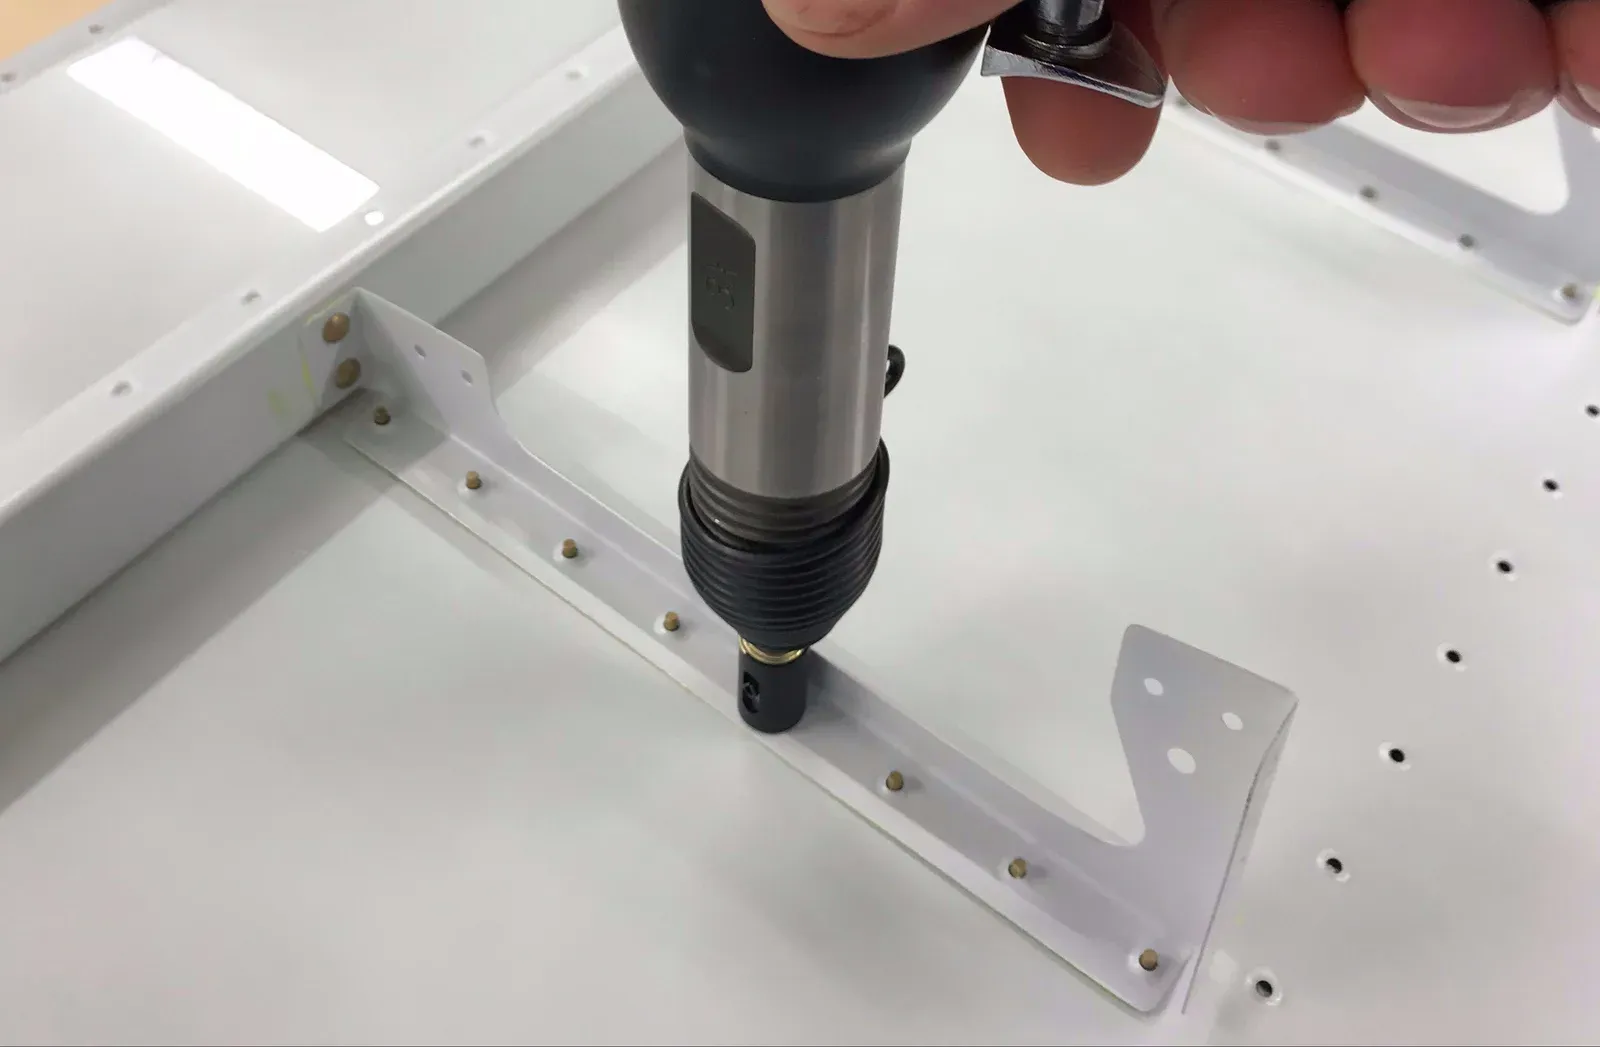
Having collected my replacement horn, I could at last rivet them in place, having carefully final drilled them with the skins/spars clecoed to ensure a correct fit.

I don't think the powder coated steel parts are up to the quality of the rest of the kit. In hindsight I wish I had checked the horns more carefully for geometrical accuracy - my left one was not made well at all. It isn't quite at right angles, and also welded to a different angle on the tube.
Inspect yours carefully before riveting in section 9-17!
Rear Spar Riveting
Postioning the rear spar on the skin as advised in the manual ready for riveting. Ribs shimmed to keep rear spar flange flat on bench.
Skin riveted. I’d already scuffed and cleaned the areas where the foam ribs attach whilst access was easy.
Riveting the skins on reverse side
This is where the special bucking bar in the Cleaveland RV14 Toolkit is used. Much easier than making one as detailed in the manual.
Tim and I were expecting this job to be hard, but actually turned out to be no problem. Two people make lots of jobs like this much easier!
Used the squeezer where the trim tab locates.
Riveting the ribs together
Put cardboard inside the structure to prevent scratching the skins and all my precious priming work. Vans make a big deal of this stage in the manual, warning about it being challenging to pull the rivet tool. But it proved not too hard after all.
Used a little wedge to pull the awkard LP4-3’s in a few places
Front Spar
Easy access here to attach the front spar : )
Nearly Finished
This shows the right elevator with riveting nearly done. Still got to attach the skins to the front spar. You have to be very careful to read the manual correctly getting to this stage. It stipulates several groups of rivets to leave until the end to ensure access. Tim & I accidentally misread one of these, jumping about in the manual from L to R elevator etc. It meant that access for the two rivets which attach the tip skin to the main skin wasn’t possible. Rather than drill out a line of rivets we looked at other ways to do the job. Tim managed to get the tungsten bucking bar through the front spar lightening hole, and get it into position by feel. Having achieved this we did the same for the other two on the bottom, instead of using the MK319’s stipulated for access reasons in the manual. The 426’s look nicer : ) Again a two-man job!!