
Countersinking
After reaming the holes in the Rear Window up to #27, it was time to countersink the holes.
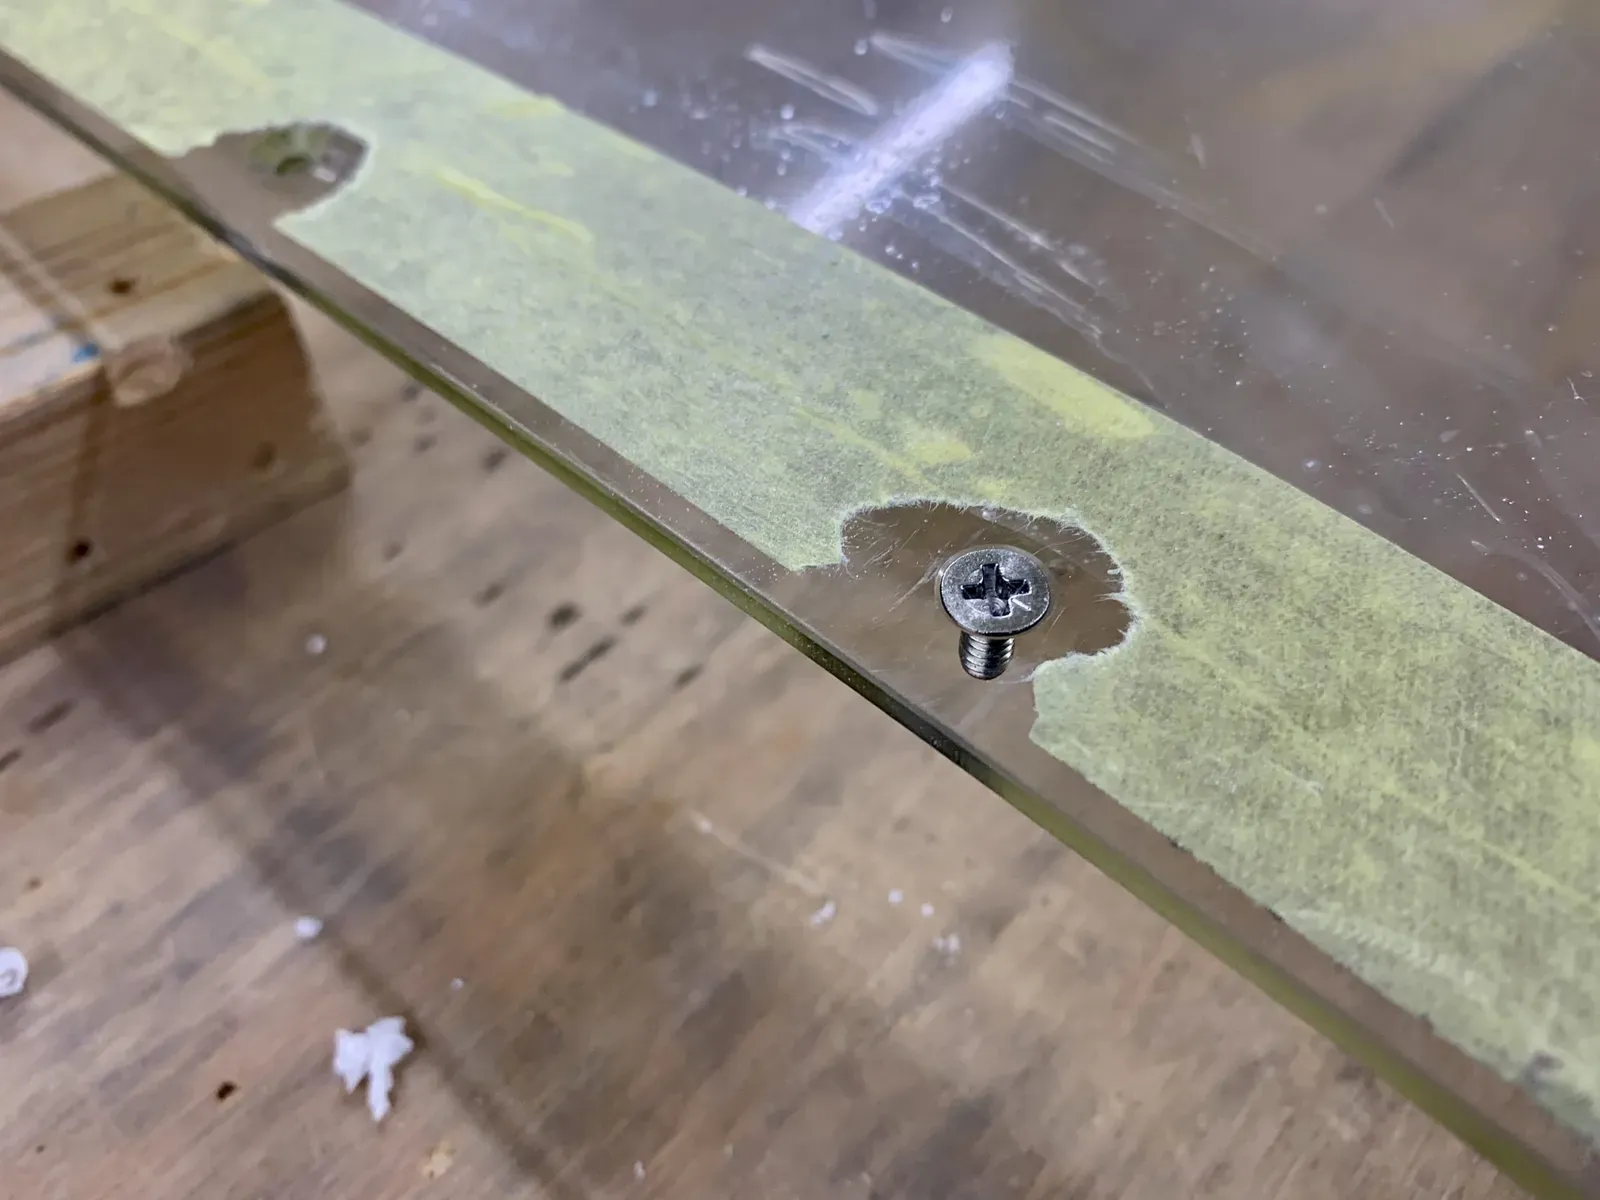
The holes over the Roll Bar need to have a countersink to fit a #6 screw, and the ones under the rear skin to accept the dimples.
After practising on some scrap plexiglass from the landing light lenses, I achieved good consistent results using the countersink cage and a #27 countersink bit.

You have to be sure to place the countersink bit pilot in the holes very carefully, avoiding any sideways force ... for the obvious reason!
I used a test dimple to check for depth. But as I usual I started with flush plus 0.007” for the skin countersinks.
In the end I went to about 0.010”.
I used the magic potion (Isopropanol & baking soda) to lubricate & cool during the countersinking.
I found it best to go slowly, and when removing the bit from the finished hole, to keep the bit gently rotating.
It took a while going carefully, but all worked out fine.
Trimming
I marked the forward edge of the window with tape.
There wasn’t that much material to remove, about 1/8” at the most I guess.
There is a company called Perma-Grit here in the UK, and they make a brilliant little cutting disk which can be used in a Dremel or similar.
Anyway, this proved great at gently removing material.
Then I fine tuned using a sanding block with 80 grit sandpaper.
I had heard that a sharp Cabinet Scraper is also a good tool to finish the edges.
And so it turned out!
Great for removing fine slivers, and it came into its own for beveling the edges.
Do not be fooled by the detail view showing the bevels on page 38-03. I don't think they are to scale, and the bevel at the size depicted (1/64") is a lot smaller in reality!!
I discovered there was another trimming job not mentioned in the manual.
This picture shows one of the F-01474A Stiffener Angles, and you can see that the window needs to be trimmed to clear these.
The picture below shows how I trimmed my window to clear the Stiffener Angles.
I finished off the edges with wet & dry paper, working down to 600 grit for a mirror & smooth finish.