
It’s been a busy few weeks, with much to relate, but no time to post on this site.
Now I have some time, I’ll continue telling the RV14 adventure in chronological order, as I have over the last few years.
The list of jobs to complete has been getting shorter, and here follows the last few. Actually I’ve found it very important to maintain a list of required jobs, since at this stage you are dipping in and out of all parts of the manual.
Throughout the build, whenever I left a manual page to move on without completing every item, I recorded the ones omitted … I’m glad.
Steps
The steps are secured with close tolerance bolts, and the holes/bolts needed some attention to allow the bolts to slide in.
They were so tight, and the access so limited, I was concerned that if a bolt got stuck en route it would be an impossible job to get it out!
There is a note in the manual about the bolt location in this picture …
This difficult location requires a 5/16 universal joint socket for the best result.
Yes, it does.
For some reason the F-01447A Step Access Covers are supplied without the required holes for the bolts in the powder coated step support ribs.
So we are faced with the familiar conundrum of how to mark the hole positions accurately for drilling.
I unpacked my laser …
… setting it up on the tripod to mark the holes.
It’s important to get the laser as perpendicular to the floor as possible to eliminate parallax.
I also fabricated two doubler plates for two baggage tie down rings.
I’m hoping the four #8 screws, together with an AN3 bolt, will provide a sufficient anchor for lighter baggage.
Here they are installed.
The six strips of Velcro are to locate the baggage carpet.
F-01406F Baggage Bulkhead Corrugation
All the flight controls have had duplicate inspections, but I was very conscious that this was a final opportunity to check things before the Baggage Bulkhead Corrugation is screwed in place.
Also the area needed a hoover and clean!
Tim was volunteered to also have a last independent look at things : )
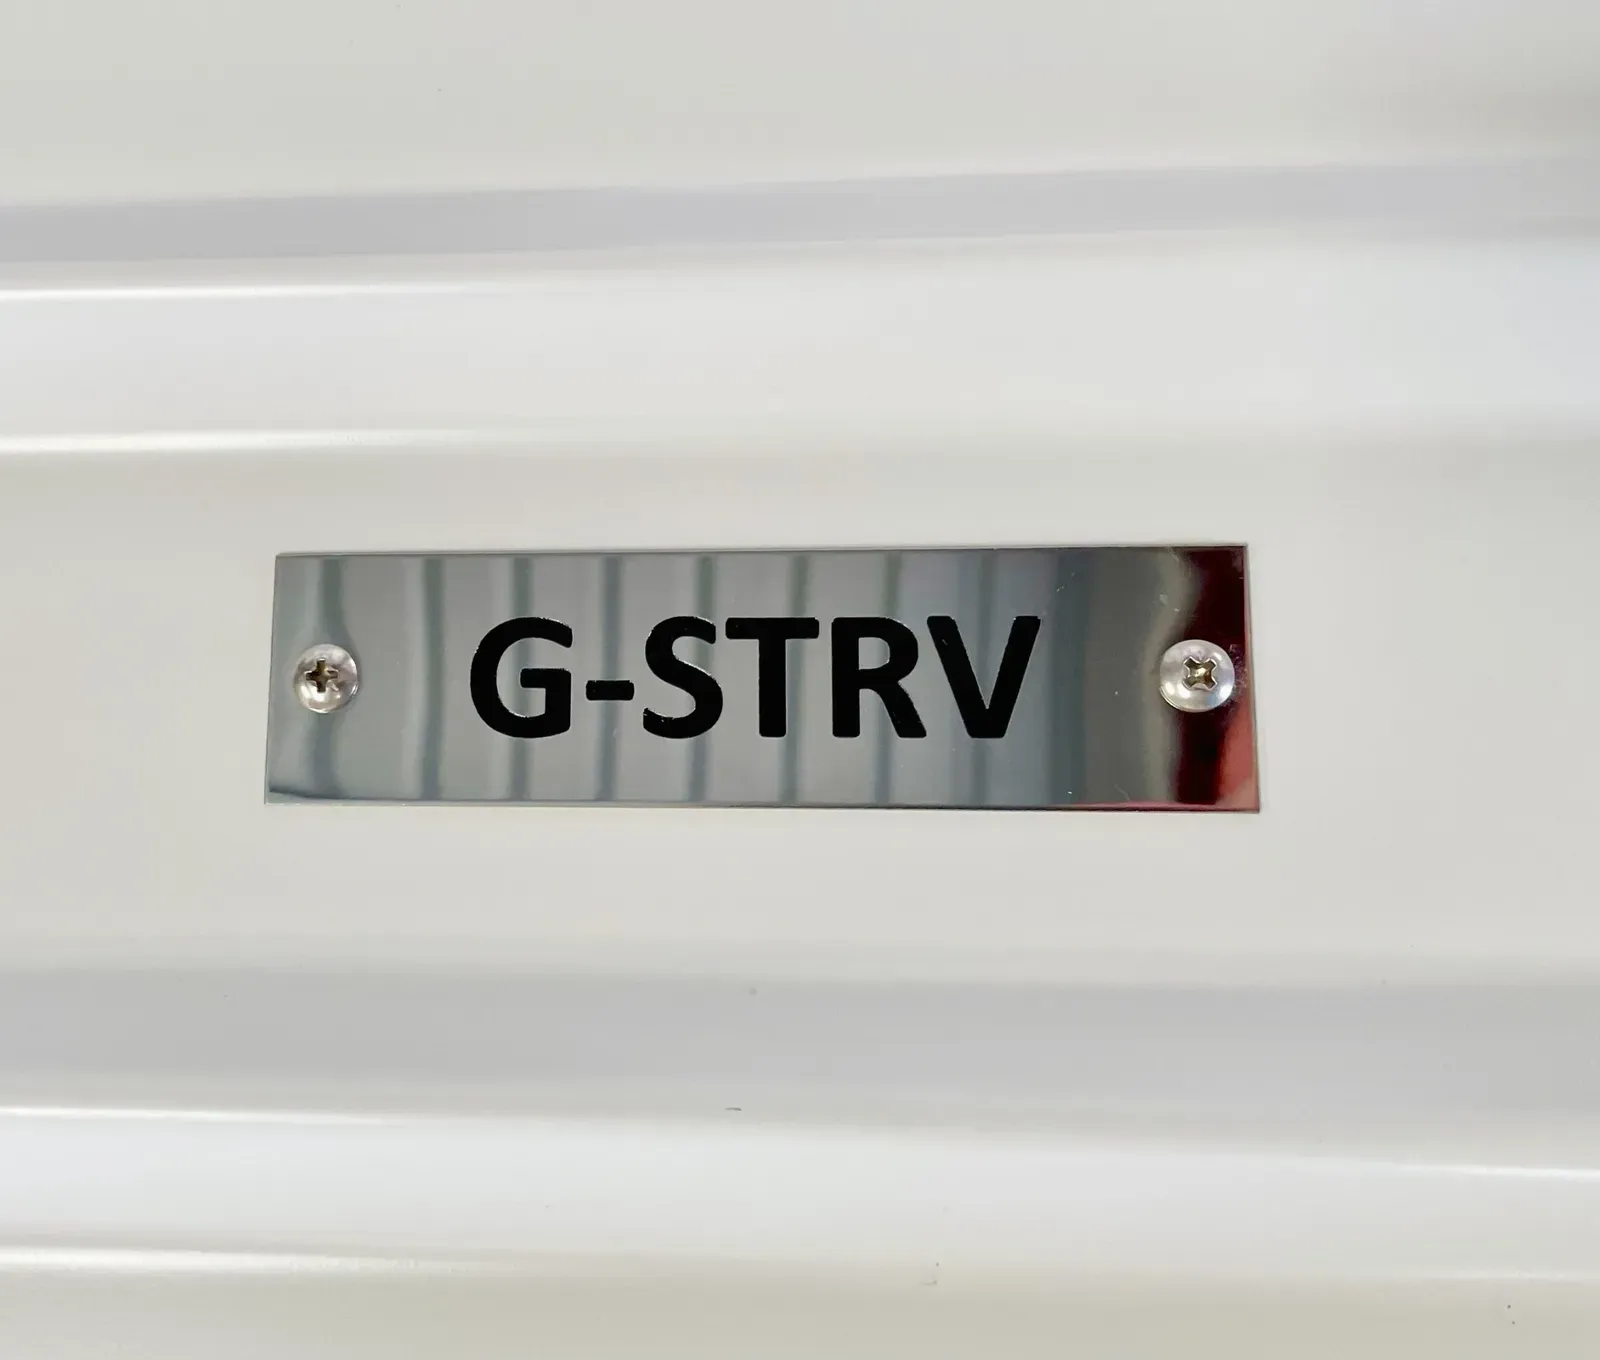
On the recommendation of Pete, our LAA Inspector, I had found a company which made a nice polished steel identification plate, as required by UK law.
After careful measurement, I fixed it to the top half of the Baggage Bulkhead Corrugation before attachment.
Due to the corrugation splaying the hole span slightly, I found it easier to fit the top and bottom screws first, and then those on the side.
This picture illustrates the corrugations needing slight compression.
Canopy Plastic
Big moment, worthy of a picture!
Removing the plastic ready for engine runs.
Actually this is quite a tense moment, since with all the plastic left on the canopy during the building, it is impossible to completely check for any blemishes … but I needn’t have worried.
Decals
I got a local graphic printing company to produce some “NO STEP” self adhesive letters.
You do not need unaware passengers stepping on those precious flaps!
Last but not least, I attached G-STRV and RV14 decals to the instrument panel … I had seen these on someone’s Youtube video, and copied!