
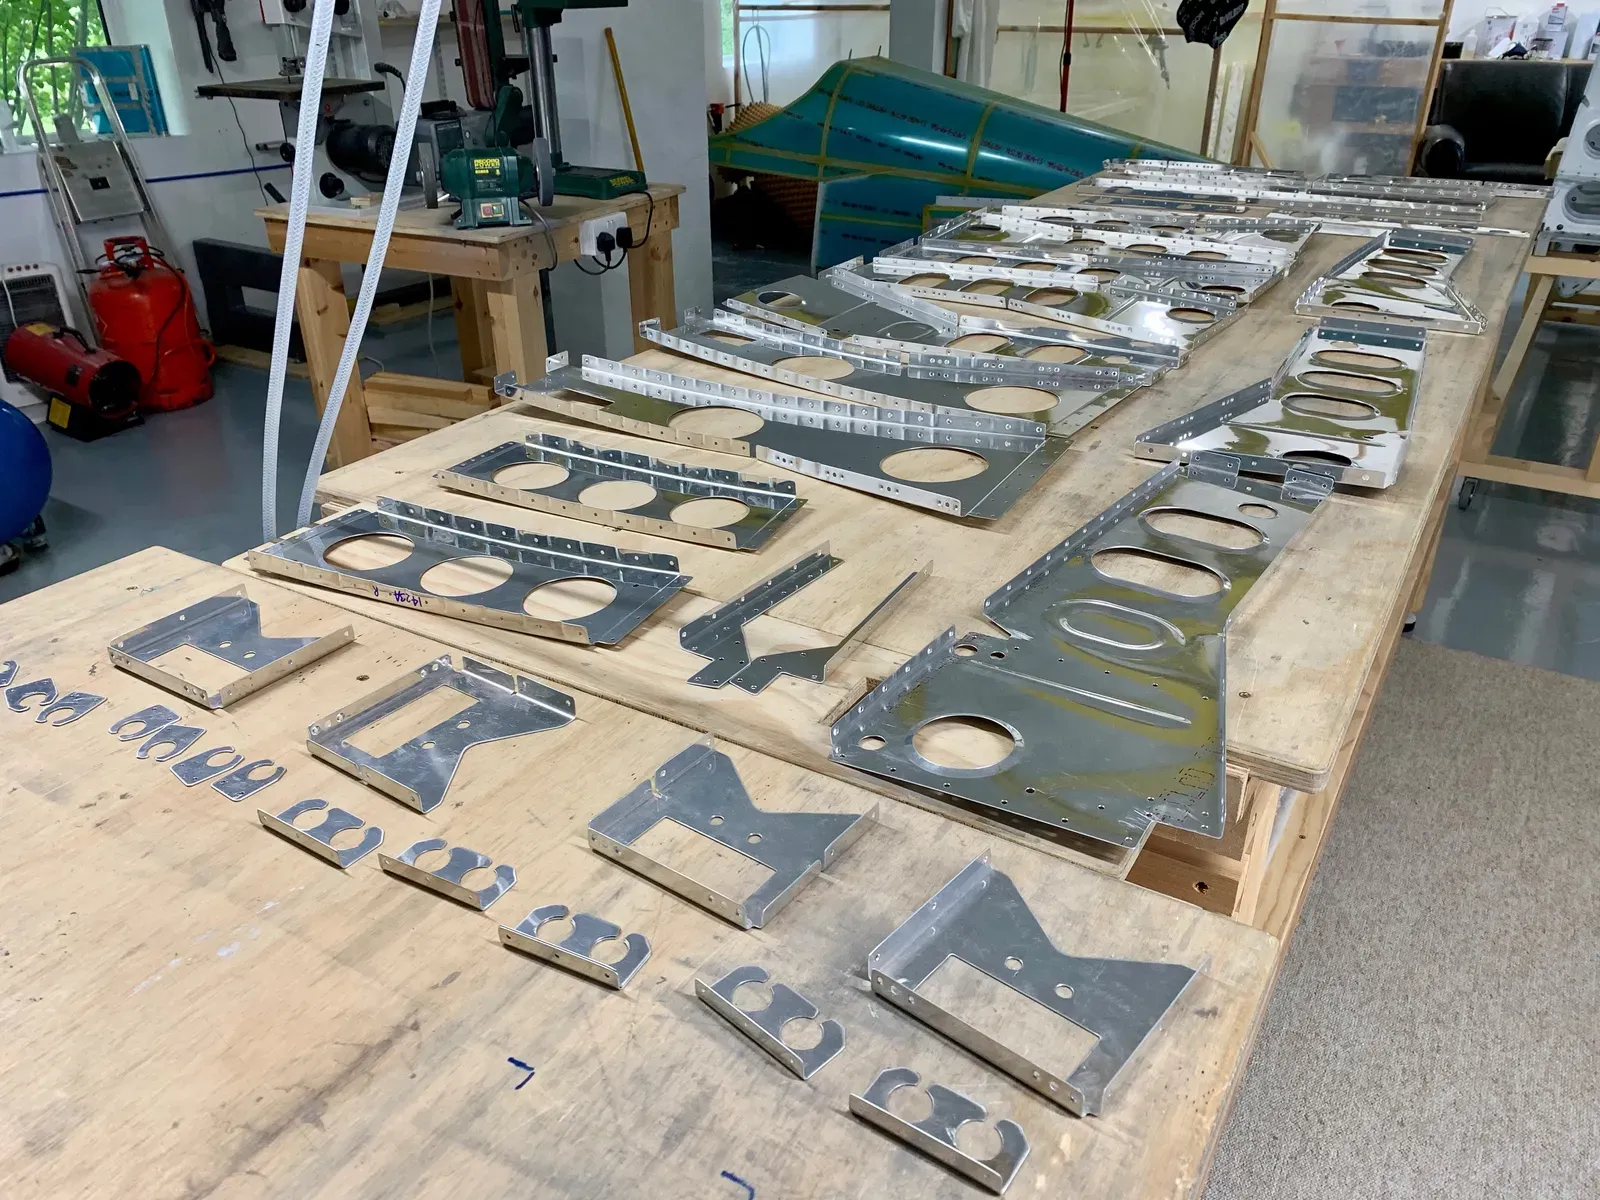
Reading through Section 26 it’s immediately obvious that there are lots of parts.
I decided to prepare the parts up to page 26-07 initially. As always this involves missing out steps that mention rivets until the priming is done.
Deburring
Lots of deburring, but not too bad since most can be done with a quick file and session on the 3M deburring wheels.
I used small wheels in an angle grinder to make fast work of the various lightening holes.
Clips to separate and debur.
The tabs in the crotch strap brackets which have to be removed needed a small hacksaw to get the job done.
Dimpling
A clear head is required for dimpling the various holes in the seat ribs since they are subtly different. I used the squeezer for these, with a reduced diameter female set in a few places.
Fluting
The outboard seat ribs have to be fluted to induce a curve which matches the bottom skin. A bit different from the usual flute to straighten, but after a few iterations proved OK.
Priming
Eventually I ended up with a pile of parts to scuff/degrease ready for priming.
A day’s priming resulted in a bench covered with lots of parts ready for riveting : )