
I’ve been pressing on with preparing more parts for priming. Lots of reading ahead has been needed to work out what needs to be done to each part before priming.
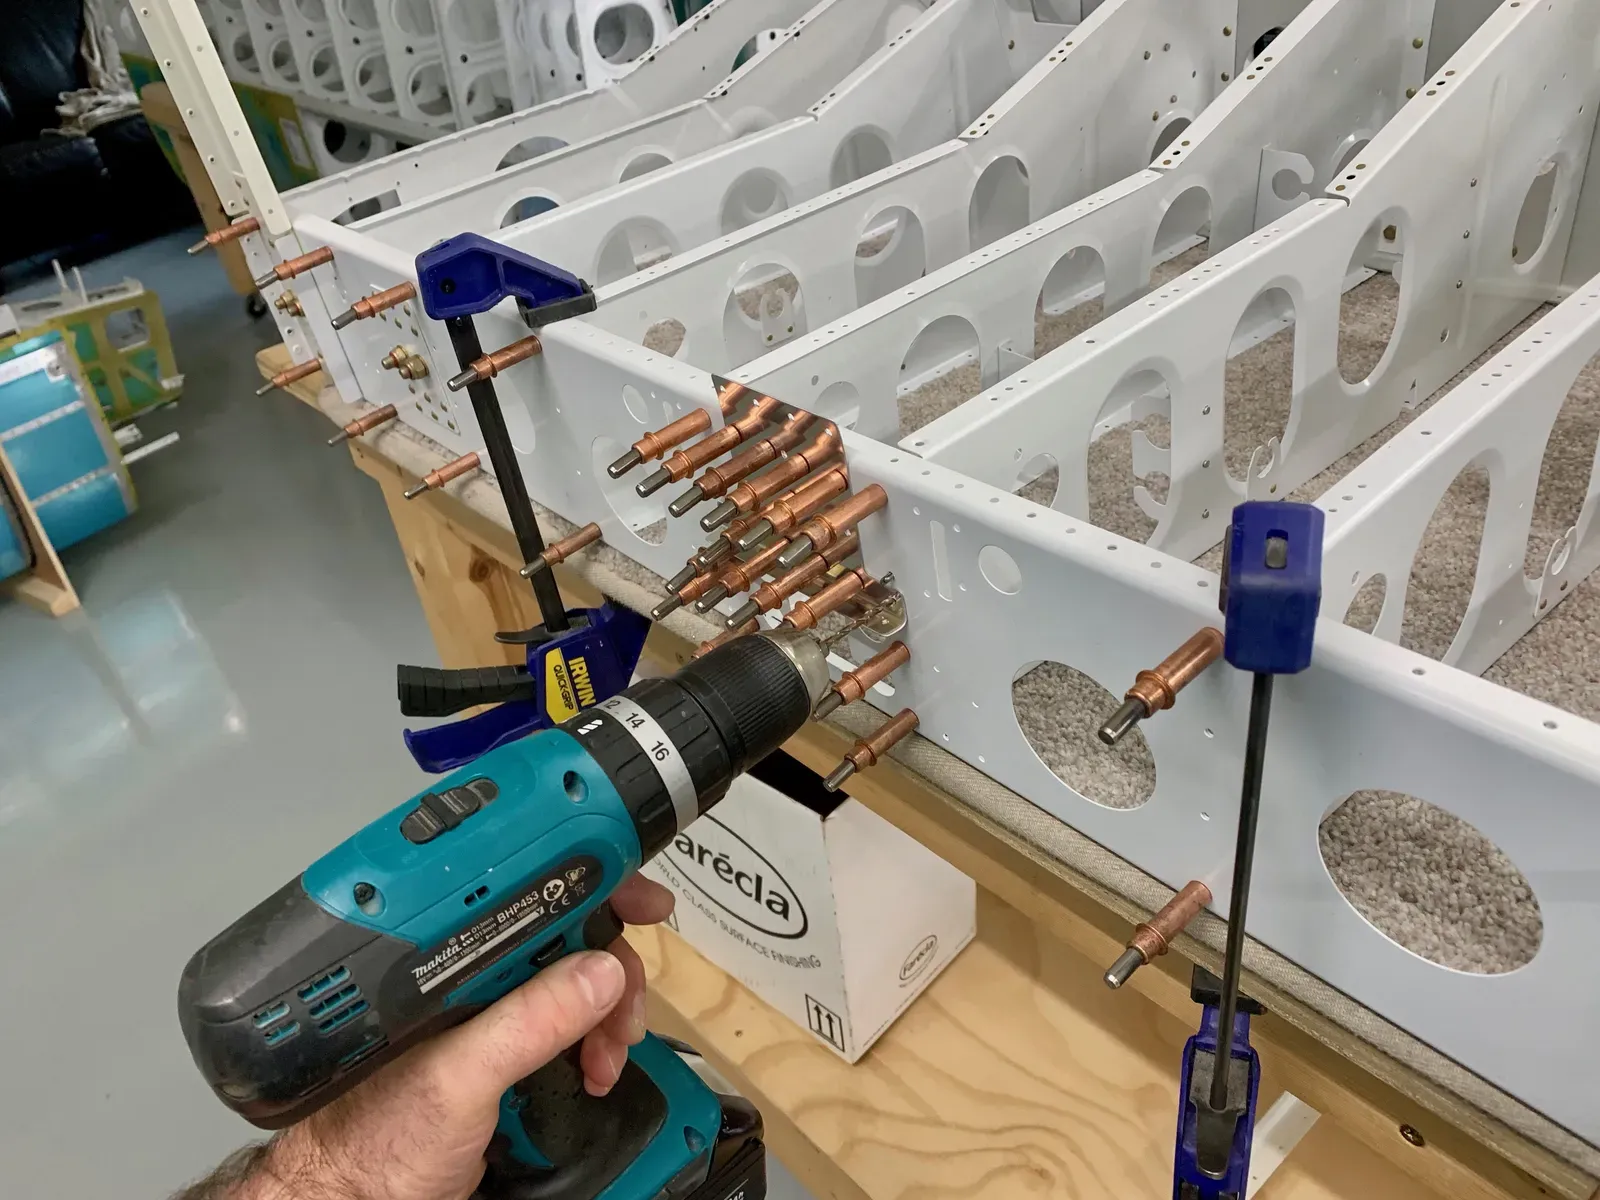
The picture above shows match drilling the two inner seat ribs with the Bulkhead Angle clecoed in position.
Of course what always has to done … deburring!
A VA-146 Bearing flange has to be trimmed. To make cutting easier I made a hole in a wooden block large enough to seat the body of the bearing for support.
The Idler Brackets have a small flange which requires bending to a 45º angle. The manual sensibly suggests that this is done AFTER a nut plate is riveted in place. But of course I’d like to prime prior to any nut plate installation. But it’d be best to bend prior to priming, wouldn’t it?
Anyway, for better or worse, I reckoned I can squeeze the rivets even with the flange pre-bent, so I sandwiched the flange between a wood block and the vice jaws and went for it prior to priming and nut plate installation. We’ll see!
The instructions are starting to stipulate Taildragger/Nosewheel for various stages. Also whether you intend to fit steps if building a taildragger. I am, so actually I was able to miss out lots of stages on page 26-10 … mainly concerning cover plates and nut plate holes.
Since some bottom skin nut plate holes are dimpled at this stage I set to and deburred this large panel, removing vinyl from the holes as usual.
Deburring the edges with a sanding block.
A large area at the front underside of this skin will be covered by the forward bottom skins, so I intend to prime this area as well.
Priming
More parts ready for priming …
… all done, waiting for the paint to harden enough to start riveting!