
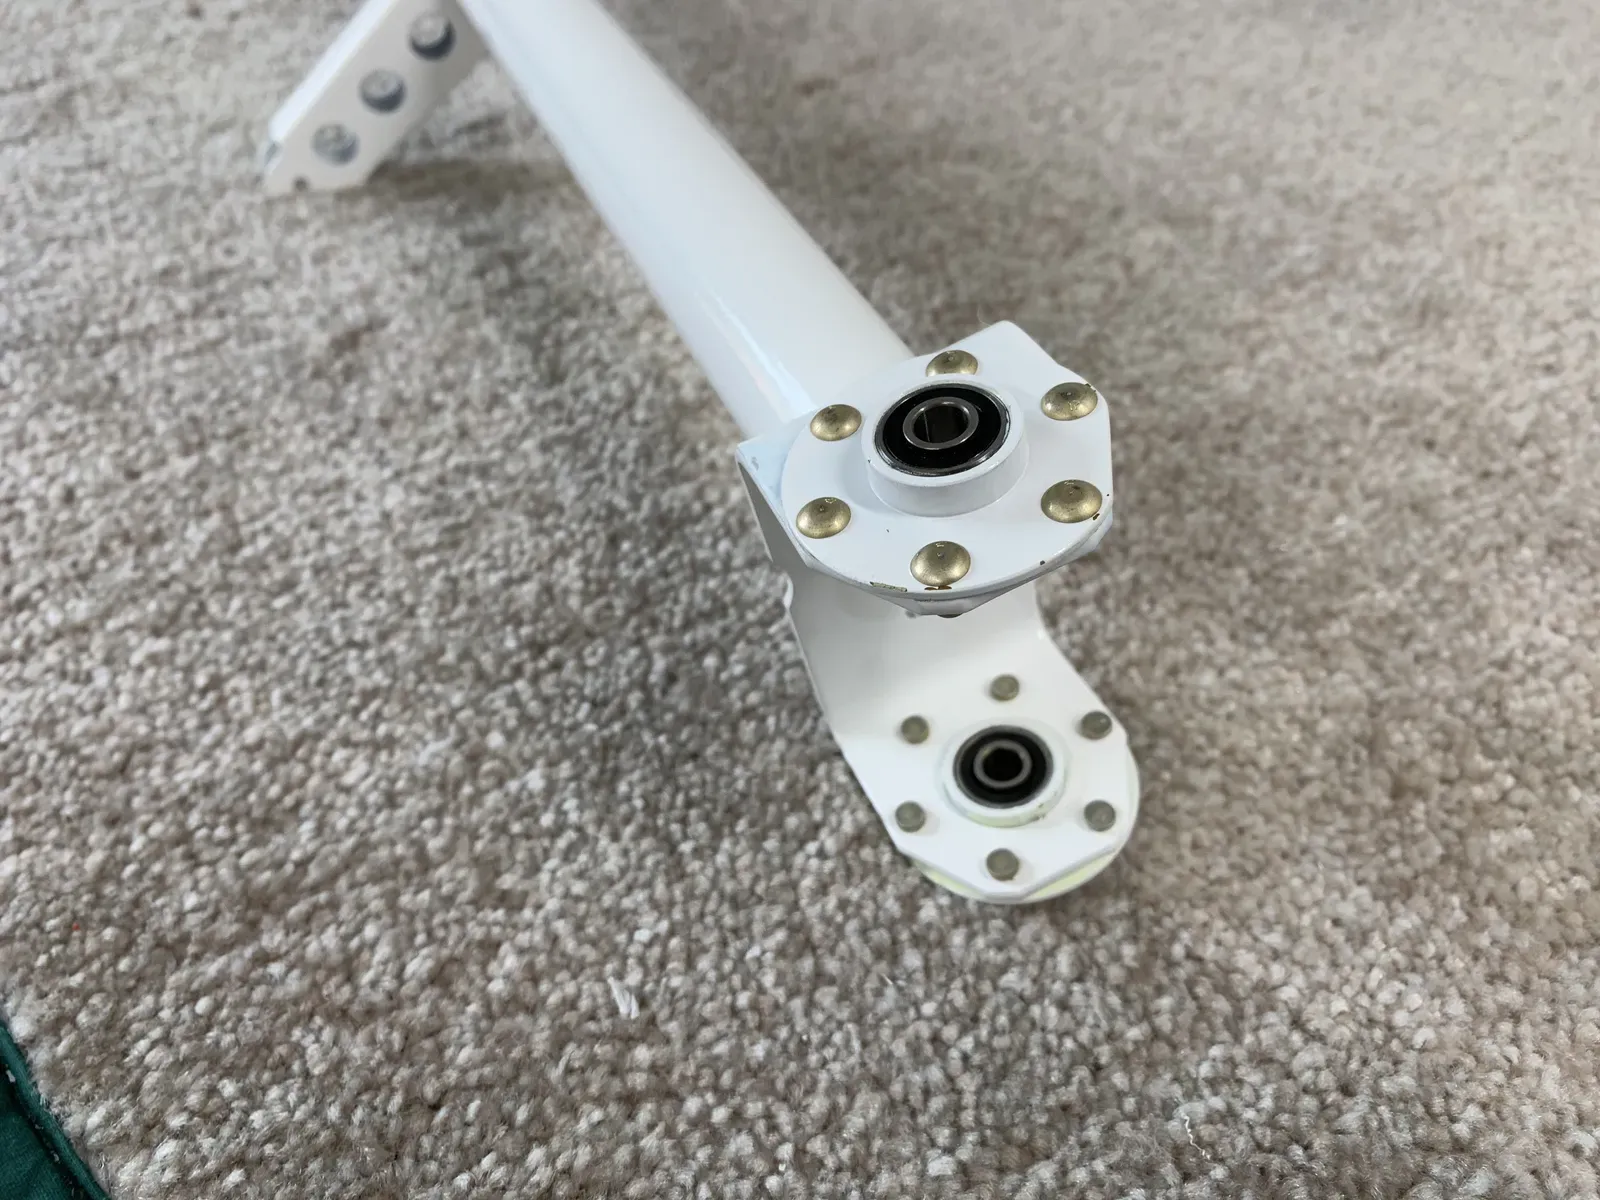
Having read about other people’s experiences installing the Control Column Assembly, I knew this was going to be a characater building session, and so it proved.
The first job is easy though … riveting the VA-146’s to the powder coated assembly.
I clamped it lightly in the vice for easy and rigid positioning to set the rivets with the squeezer.
Chinese Puzzle
Threading the thing into position required various rotations to clear ribs etc.
Washers & Shims!
Vans suggest you …
tighten the hardware on one side of the Control Column Assembly first, then add, remove, or substitute shims or washers as necessary on the other side.
I measured the gaps both sides with a Feeler Gauge, and reckoned the suggested washers would work just fine on the left side … so I chose that for the initial tightening.
Using a piece of acetate with a washer shaped recess helped to position the washers … but still a frustrating job to line up and get the bolt through … lots of washers dropping out!
Having tightened up the left side, I then measured the gaps on the right side. I reckoned the addition of one thicker shim would sort it.
But as I tightened the assembly’s free movement vanished as it stiffened up.
I then tried various thicknesses of feeler gauge, gently nipping up each one … and I discovered that a change of a 1 or 2 thou made all the difference!
I eventually worked out I needed a 0.025” shim, thicker than the one’s I’d already made. The picture shows the test of a suitable scrap piece.
Success!
Anyway, having made a new shim and winning the battle to insert it between two washers, I was rewarded with a free moving Control Column Assembly!
I held my breath as I torqued, but it all stayed just fine. : )