
The first challenge is to identify the correct hinge material.
Vans FAQ’s ABOUT RV KIT HINGES might help.
I wasn’t sure what length of these hinges are required later on, so I just fabricated them as per the manual but not wasting any more length than necessary.
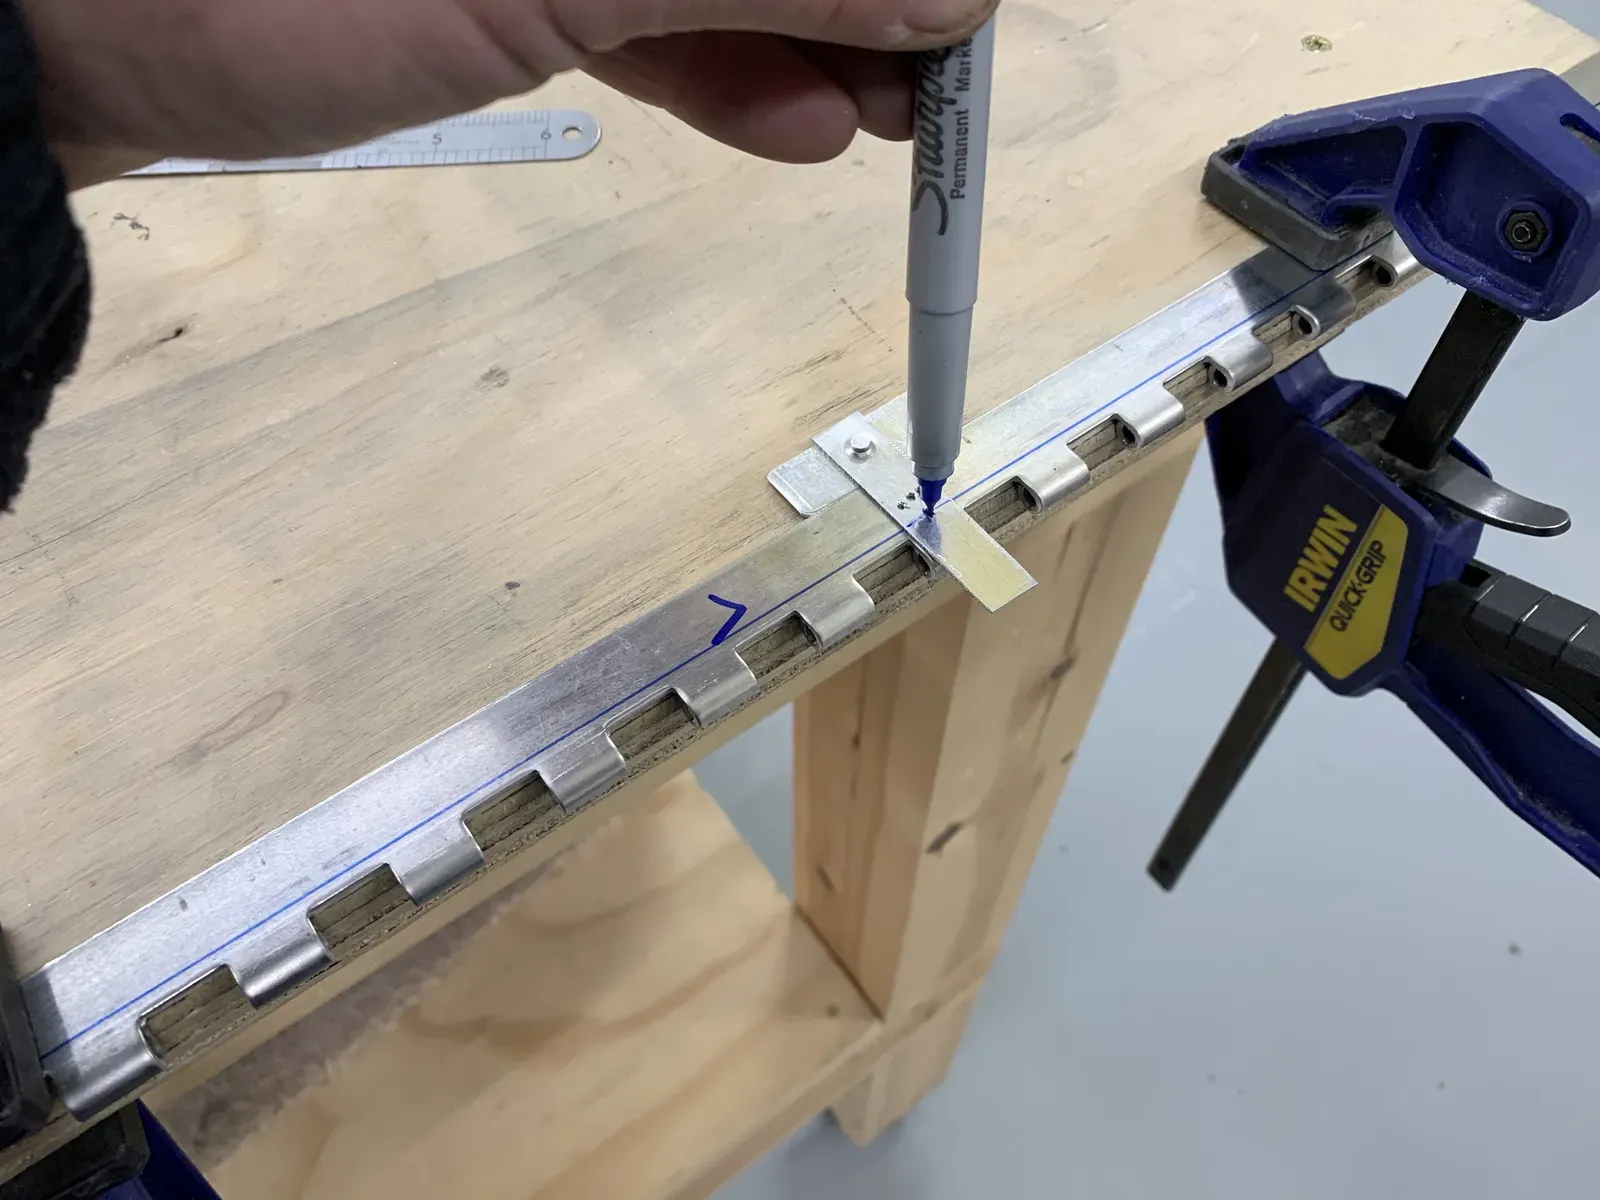
I had made a little T-Piece ages ago when making the hinges for the trim tab, so I used this again to mark the reference line.
The fuselage side skins are attached during the hinge match drilling, so as always I prepared and deburred the skins first.
Then manual asks you to cleco the lower longerons to the side skins prior to clecoing on the side skin to the fuselage. I found that when I did this it was hard to lift the flange on the longeron doubler over the fuselage lower skin flange.
So I ended up fitting the lower longerons to the firewall first, and then attaching to the side skins once they were in position.
I used AN6-11A bolts to temporarily attach the longerons.
Match Drilling
Here is the first cleo in the pilot hole.
The manual is confusing here … Step 7 asks you to begin drilling above the pilot hole, whereas the diagram shows a lower position.
Must be a mistake … starting above the pilot hole is obviously the correct way.
I clamped and match drilled, clecoing the holes as they were drilled.
It all worked out.
Machine Coutersinking
I clamped a block of plywood to the drill press, with a hole for the countersink bit pilot.
This made it quick to slide the hinge along and position the countersink cage.
v