
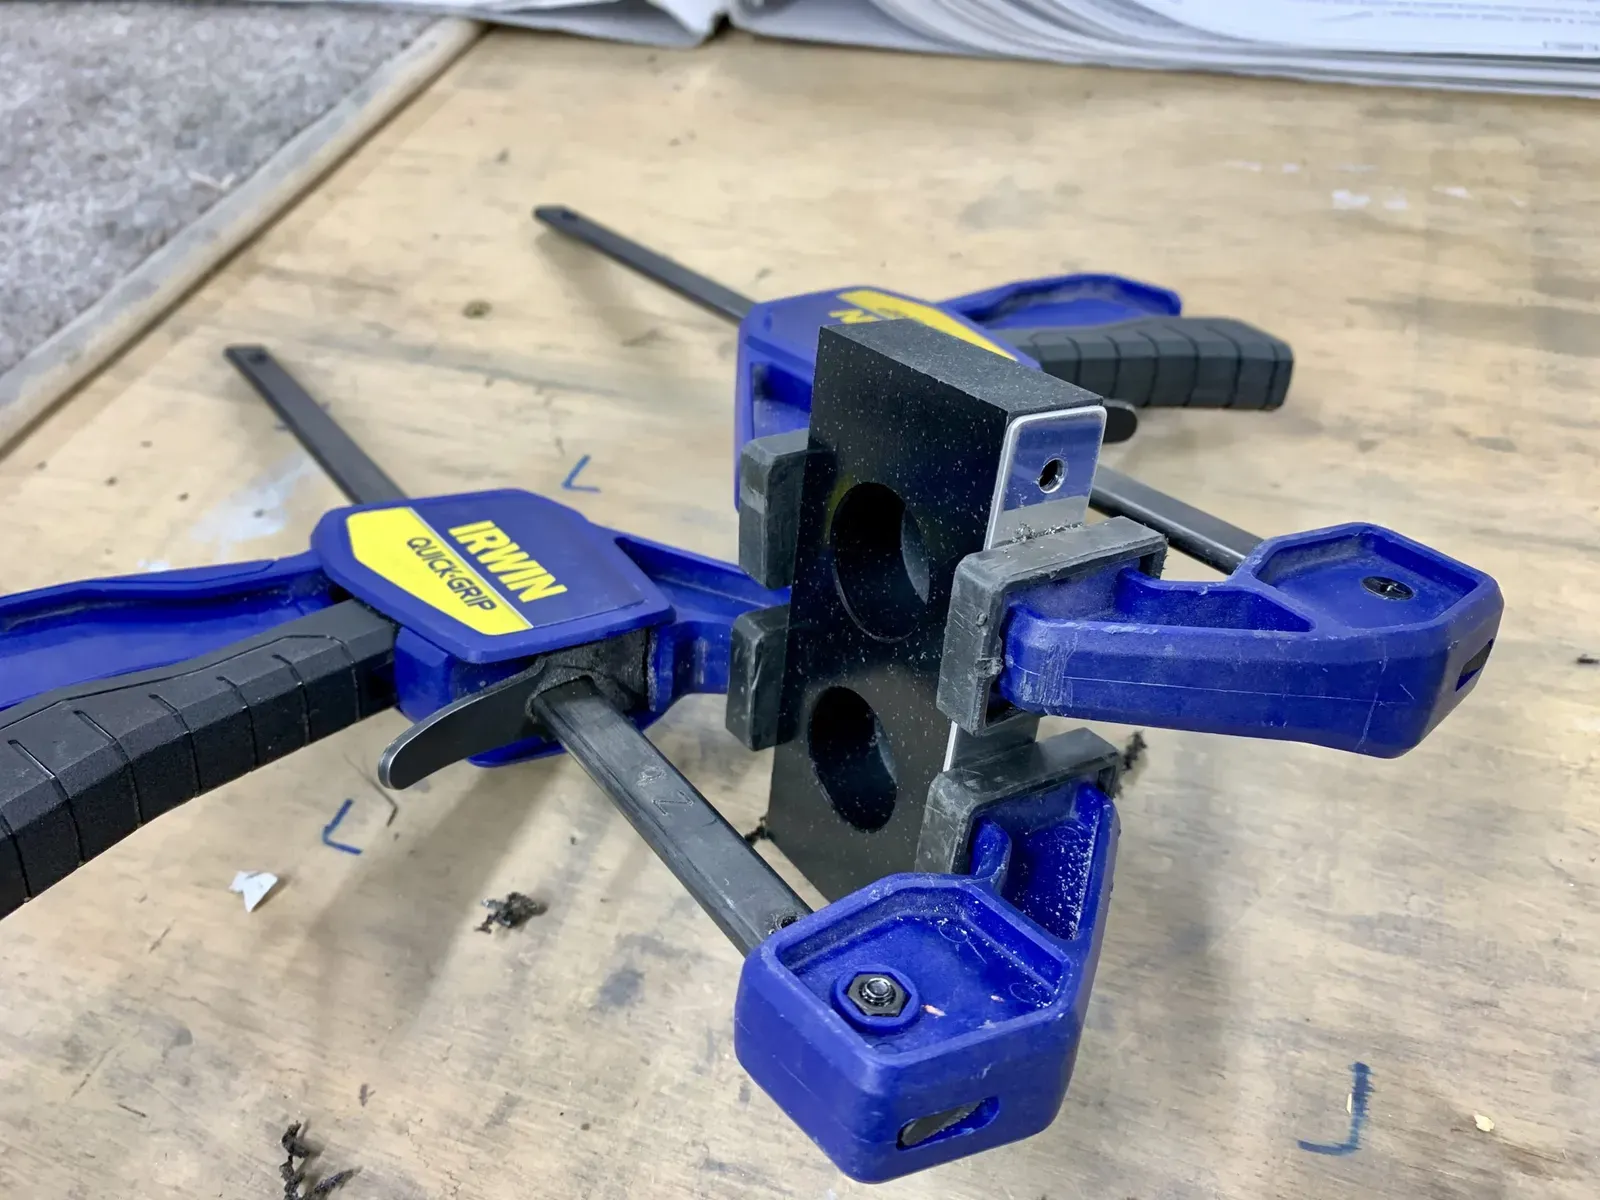
I’m fitting Beringer Brakes, and when I went to fit the Master Cylinders I discovered some bushes missing. So while I’m waiting for them to arrive, I moved on to prepare the bearing blocks.
After marking the required holes through the template, I used my drill press to ensure perpendicular holes.

Clamp the workpiece, since although the drill bit cuts the material easily, it tends to drag it up!
You use the F-14104 Support Angle as a template to drill the middle bearing block, aligning the ends.
But when I looked at the block, I noticed the rudder pedal holes were not the same distance from the block edge at both ends.
So I stretched some thread across to check which end I should align. I didn’t want any misalignment for obvious reasons.
The middle block is cut in half, so I used my bandsaw. I used tape to indicate the line of cut …
… and then my vertical sander to finish off, being careful not to take away too much material.
When fitting the block there are NAS1149F0363P washers between the two halves, and I found by trial fitting around the rudder pedal tubes I could fine tune the sanding to get a snug fit.
FLF-00010 Flanged Couplings
There is a note about now to consider installing the FLF-00010 Flanged Couplings (if you are building a taildragger). Without doubt this is a good plan, so I did!
Actually, if you are reading this and still have an unassembled firewall destined for a taildragger, I'd drill the holes for these now!
The first challenge is to use a step drill to make 13/16” holes as per the manual. This worked out OK, but not easy to use the step drill through steel in a hand held.
Then the holes in Flanges are match drilled through the firewall. Once the first hole is drilled, it’s easy to cleco etc. But to make the first hole I decided to mark and centre punch, as in the pictures …
… and then match drill adding clecos.
Reservoir & Flange attachment - more Sticky Stuff!
Yes, the Proseal comes out again … the flanges and Brake Fluid Reservoir are attached to the firewall and sealed as usual.
Masking up to keep the Gunge Monster under control!
Nipping up the reservoir bolts.
The rivet gun and bucking bar came out for the flange rivets.