
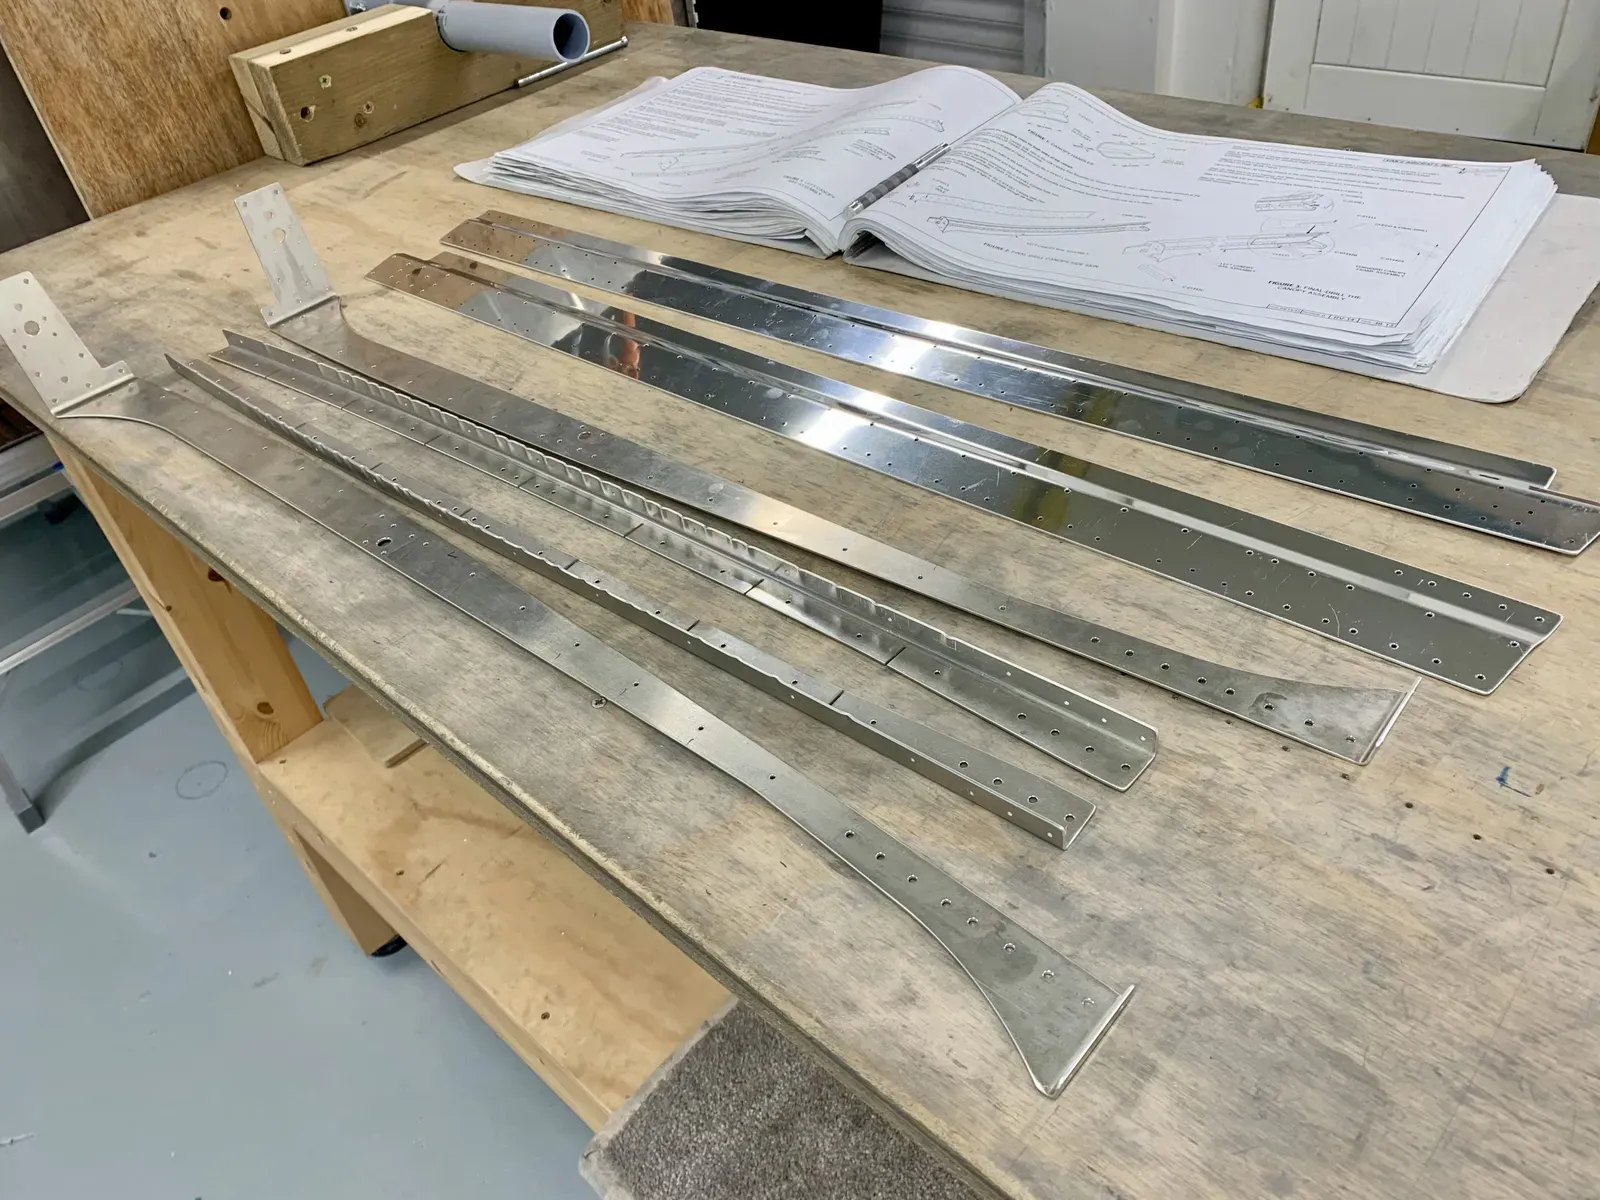
One of the challenges with the canopy structure is deciding when and what to prime ready for riveting. So much involves partial assembly followed by match drilling & countersinking.
Lots of countersinking is done AFTER final/match drilling. This is so that the clecos can lock the structure as securely as possible.
Anyway, after countersinking the bottom of the C-01409 Aft Canopy Rail Angles, I reckoned it was time to prime the Canopy Rail parts.
Unusually the #40 holes in the bottom of these Rail Angles are countersunk for the shop head of 470 rivets …
… as you can see here.
I wondered how these would set, but I needn’t have worried since the squeezer worked just fine.
I didn’t set them flush since they would be too flat, but the countersinks certainly help to minimize the distance the shop heads extend beyond the bottom of the canopy frame.
Shaping the C-01407 Aft Canopy Rails
This took longer than I’d anticipated.
I have not yet attached the Roll Bar to the fuselage, which made it easier to use it as an aid to shape the rails.
I clamped the Roll Bar to the bench to keep it rigid, and then used both hands to form the rails.
They took a lot of bending, needing to be bent completely around the bar curvature to be anywhere close to matching the fuselage profile.
I fine tuned things by selectively positioning & flexing over the arm of a sofa … and eventually got the rails within 1/32” of the fuselage side profile.
Match Drilling
Match drilling the rails from the centre symmetrically outwards, clecoing as the drilling progresses.
Lots of holes!
The middle holes of the groups of three are then countersunk for a flush AN426AD3.
Riveting
Vans get you to position the rails as accurately as possible by inserting rivets as the structure is clecoed back together after countersinking.
And then the squeezer fits just fine to set them.
Canopy Handles
I aligned the handles by eye using a ruler …
… and then clamped them with a cunning arrangement of wood blocks for match drilling.
Final Drilling
I decided to final drill the holes with a reamer.
This seemed to work well.
Lots of clecos again.
Final-Drilling Canopy Assembly & Rails
The rails are clecoed to the already clecoed canopy assembly, ready for final drilling.
The manual doesn’t suggest that you check that the rails are parallel, but I shimmed the parts on the bench and checked with the digital level prior to final drilling.
All clecoed with the C-01411 Canopy Rail Shim in place ready for final drilling.
I used the reamer to gently open up the holes to #40.
The manual is very precise on which holes get final drilled.
I marked the holes with a marker pen, ticking them off as I went.
Countersinking
Then the whole thing is taken apart.
I used the cage to countersink the C-01406-L Forward Canopy Rails. You’ll need a small block underneath due to the curvature of the part.
I tried to countersink the rails on the drill press, but it was too difficult to jig.
Using the cage in the cordless drill worked OK.
The Canopy Handles have restricted access … I ended up using the deburring tool to countersink the holes by hand.
Radius on Canopy Skin
I wanted to prime the Canopy Skin with the other parts, so I read ahead and formed a radius as specified prior to priming.
Having taken it all to pieces, I decided this was the moment for some more priming … sigh!