
I had fitted the various components which are used to attach the Classic Aero interior about a year ago, as described in this post.
The following is a sequence of pictures showing the final installation, which may be of interest to those thinking of the Classic Aero product.
Floors
It all starts with the harness crotch straps, since these have to be installed prior to the floors.
After the straps are attached, the floor is screwed down … there are lots of them!
I found a right-angle screwdriver useful for some locations.
All sorts of contortions inside the cockpit are required : )
I’ve been placing nylon washers under the screw heads to protect the floor paintwork.
Carpets
The carpets are held in position with self-adhesive Velcro strips.
The footwell carpets have a nice layer of soundproofing material.
Here are Velcro strips in place … I cleaned the floor with Isopropanol prior to adhering them in place.
Nicely fitting carpet, with protective heel pads.
The tunnel carpet has 2 anodized trim rings for the fuel selector and the Vans socket areas.
I’ve not fitted the Vans supplied items, just a USB socket.
I trimmed the Velcro strips so that the various panels can be removed later if required.
Velcro strips positioned to locate the footwell sidewall carpet.
Sidewall carpets in position … there are slots for the rudder cables.
Left/Right Pocket Brackets are secured with a floor screw.
I cut small slits in the carpets to accommodate these brackets. Here’s the left side …
… and the right side, showing how the carpets are contoured around the headset jacks.
The carpet on the right of the picture is the baggage area carpet, which is supplied with upholstered cutouts for the harness brackets.
This is a view of the baggage carpet.
I have attached two tie down points to the footstep hard points, and simply cut slots in the carpet for the rings.
This picture shows the front of the baggage carpet, illustrating the nice fit around the flap pillar and harness attachments.
Side Panels
The coloured Panel Pleats are located securely at the bottom with the armrests, & with self adhesive tabs at the top …
… which are located as you press the panels into position.
Neat upholstery around the vents.

If you are planning the Classic Aero Interior, do not put in the upper outer vent screws!
I had attached the vents as per the Vans manual ages ago, but to install the Classic Aero vent upholstery the screws have to be removed. I had to make a special tool to remove the upper outer vent screws, since I could not reach the nuts on the back.
The Bulkhead Covers located easily on the previously installed rivnuts.
Then the Upper trim pieces are installed.
I found that all the fitments previously installed with the templates were all perfectly placed for the various components …
… as were the previously drilled holes.
Here is the Idler Arm cover about to be installed using the supplied thumb screws.
Here it is fitted, hiding the idler arm assembly.
The whole point of this is to move the canopy actuation pushrod up, making it much less conspicuous.
The lower pocket liners are located with Velcro strips.
The Hard Pocket rear faces have spacers screwed in position …
… to be used when attaching to the airframe.
Here is the left hard pocket in position.
This is the left armrest ready for installation.
Armrest and Hard Pocket.
Note that the canopy pushrod is barely visible under the upper trim piece.
The Forward Pockets are located by clips at the rear and screwed at the front onto the previously installed points.
Seat Harness
The shoulder strap attachment lug holes on the Hooker Harness are too small to accept the Vans supplied spacers.
I decided to omit these rather than drill the lugs.
The Hooker Harness lap strap lug holes are supplied with an integral spacer (at least these were?).
I had to grind the thickness of these spacers down so that they would fit in the cockpit attachment brackets without excessive splaying.
Joysticks
Fitting the joysticks required a bit of thought, since a way has to be found to route the cabling to the plugs so that it doesn’t get pinched at the extremity of stick position.
I found that the biggest gap was front left/right, so I fixed the cabling with tie wraps to route it down in these corners.
A simple job to attach the joystick bolts?
Yes, but dropping a nut down into the control area would be very inconvenient! Position a barrier to catch any stray nuts/washers.
Attaching the Joystick Boots finished the stick installation.
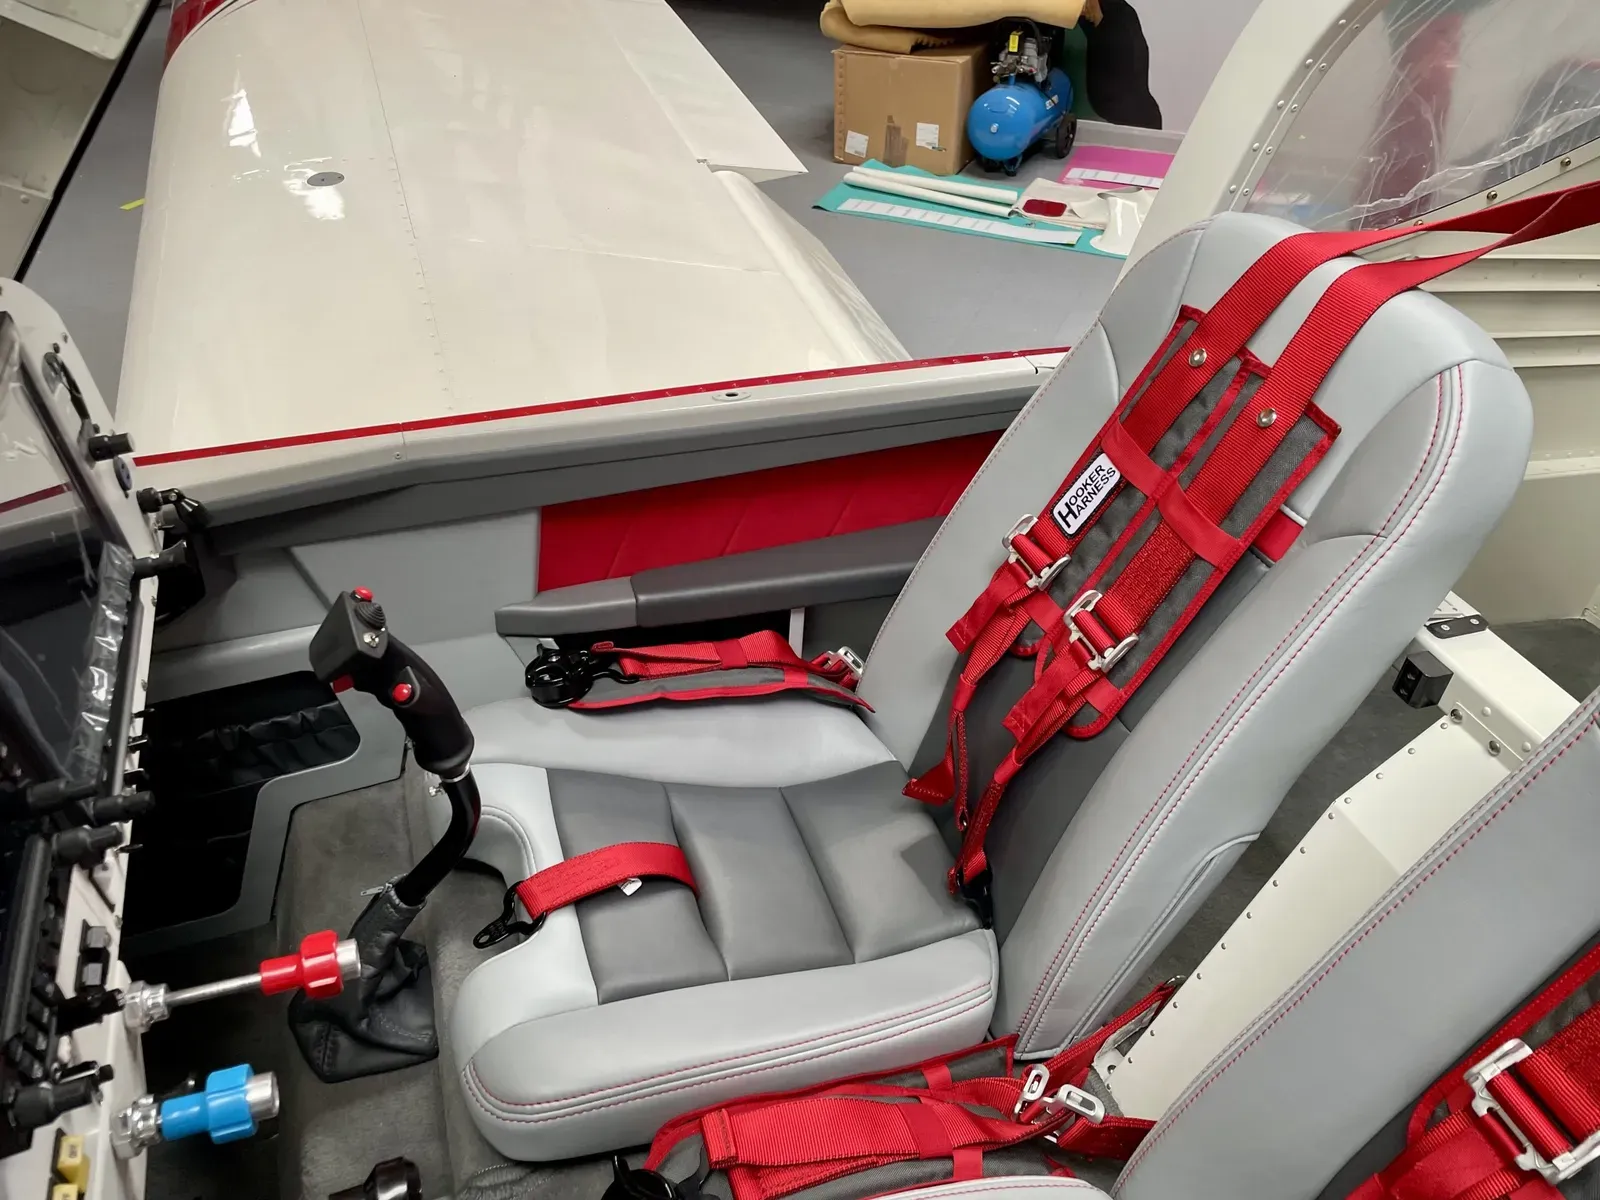
This is the finished interior, with the seats and harnesses installed.
I’ve been very pleased with the quality of the Classic Aero Interior. It is beautifully presented, with clear instructions and templates to ensure a perfect fit.
Highly recommended!