
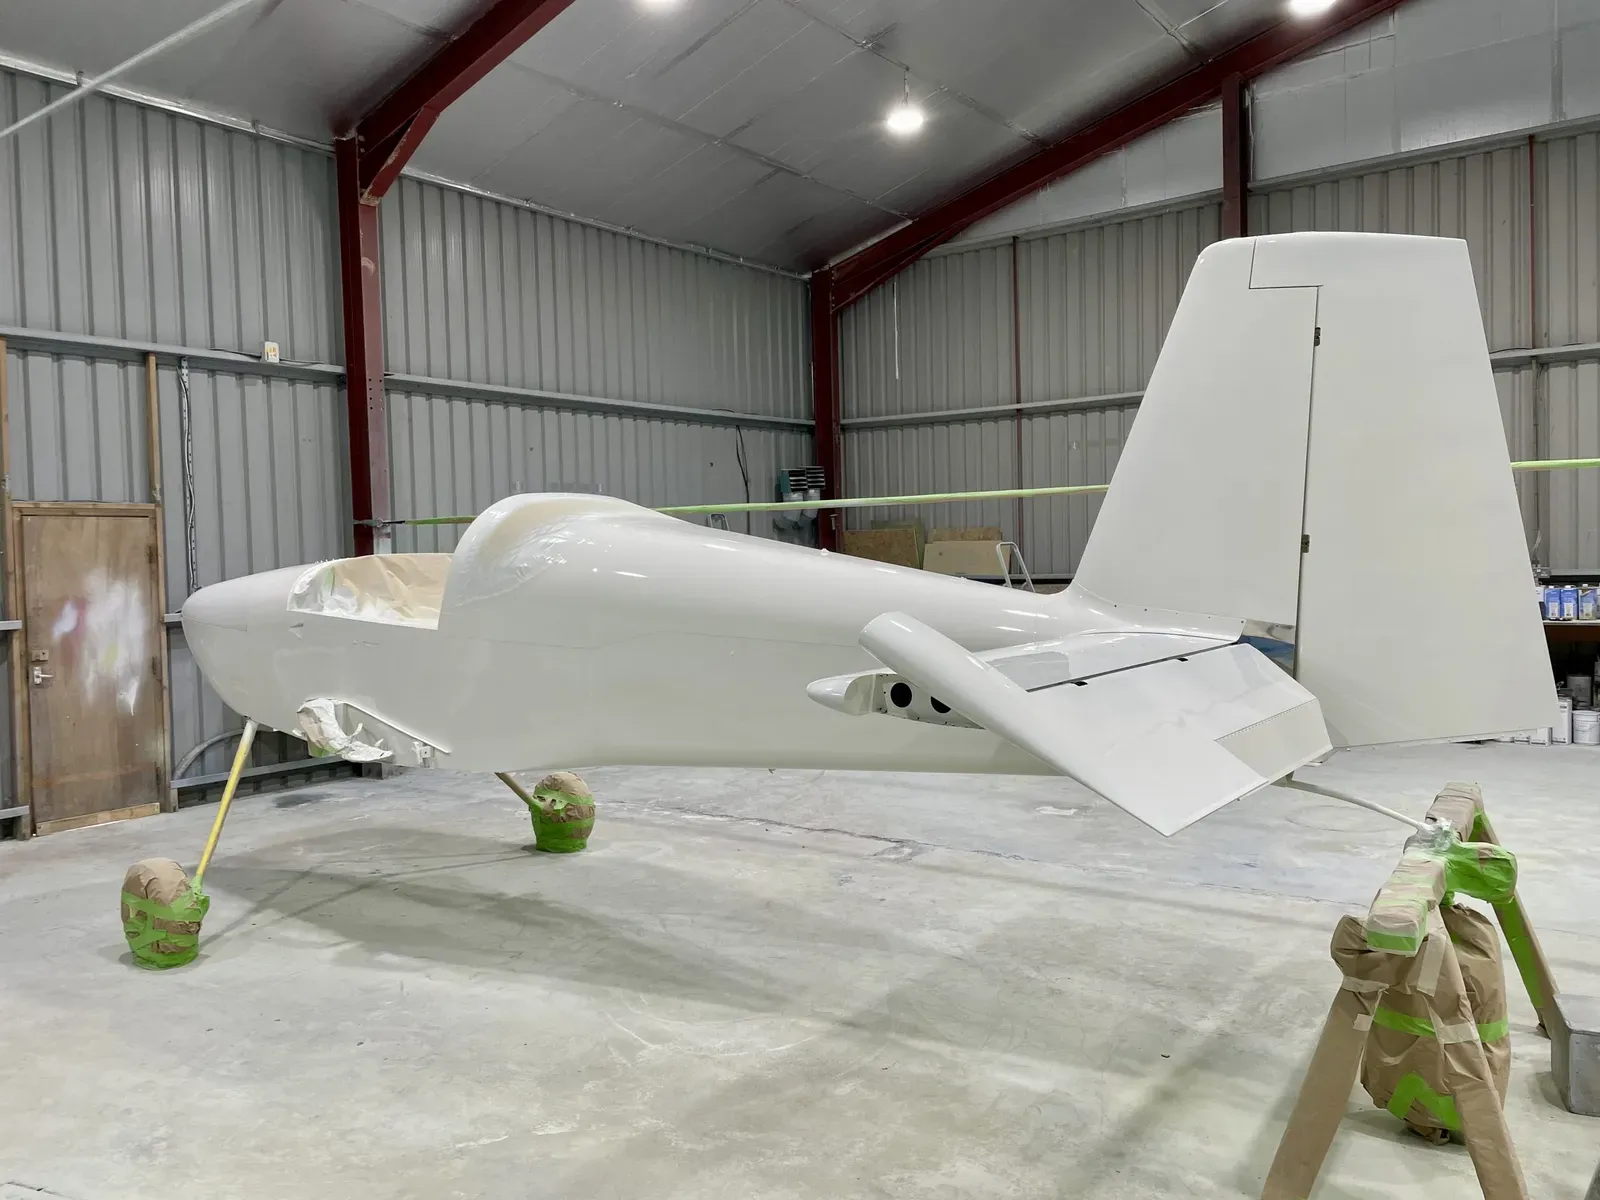
Once the white base colour had been completed, it was time to begin the masking up for the stripes and colour.
Of course to get all this right, the cowling and tailfeathers have to be attached to the fuselage.
It’s a very skilled job to mark out lines and curves so that they look “just right” and symmetrical on either side of the aeroplane.
Curves and colour area marked out on the fin.
Fuselage colour boundary and curves developing.
The front view must be symmetrical!
In this picture it can be seen that we decided to position the colour boundary just below the air vent inlet, and also the JDAir Canopy Release Handle.
The registration letters are complicated!
They include 3D effect shading and also a red outline to make sure the letters are correctly defined on the white areas.
So you need a clear head when masking up and planning the order of colour application : )
No, not painted blue squares … masking for the red checkers.
Again, it all must be perfectly symmetrical.
Once the layout and masking was complete, we disassembled the aeroplane ready for painting.
The rear fuselage access panels have a colour boundary and black stripe across them.
But of course, prior to painting, everything apart from the next colour to be sprayed has to masked off.
Ready for the first stripe colour.
A gold stripe was sprayed first, then masked off so a black stripe could be sprayed.
This picture shows the black having been applied, with the gold masking removed.
The large area of black is the result of spraying the shadow effect on the registration letters.
The next job is to unmask/mask up ready for the colour on top of the fuselage.
As I hope you can appreciate, it’s painstaking and skilled work to build a multi-colour paint scheme.