
Right Tank Ribs
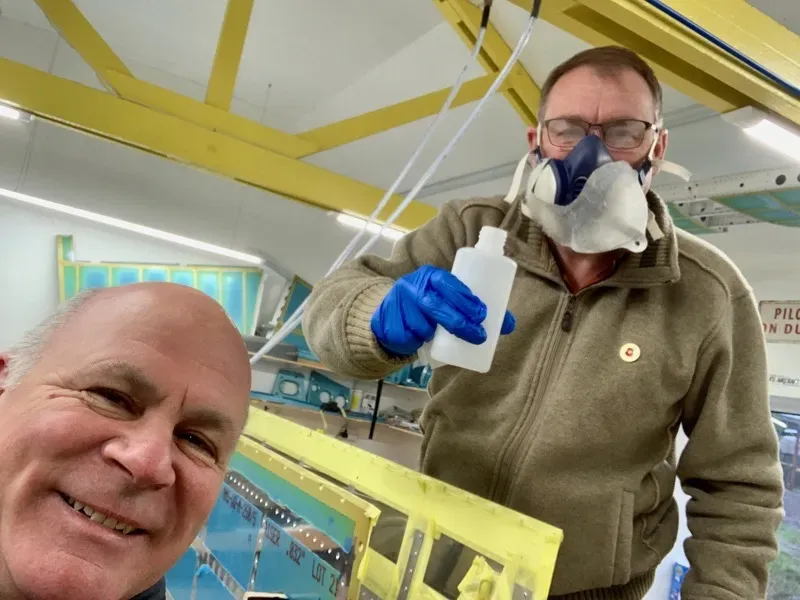
Well, here we are trying to remain cheerful in the face of Proseal adversity! Tim is holding a pot of MEK, and I’m keeping well out of it : )
As long as you get completely organised, it’s not that bad. It just takes a long time. Each rib is taking us just over an hour, and uses about 60g of Proseal … this is covering the flanges completely, which some people don’t do. Oh well, in for a penny, in for a pound. The 500ml tins of Proseal are costing £60 : ( If it means no leaks it’ll be worth it.
The pneumatic sealant gun is absolutely brilliant. I would not have liked to build the tanks without it.
Sealant smoothed out on the rib flange with a lollipop stick.
The rivets have been soaked in MEK and then dried. So Coral’s tweezers are very handy for placing the rivets in the holes.
Here’s the end rib. I squeezed the rivets on the left tank, but for some reason found it harder on this side to squeeze a nice shop head. I think it may have been because the rivet I tried wasn’t perfectly aligned in the hole. Anyway, we ended up setting them with the gun with a good result.