
Well, we’ve gone and done it … installed the baffle on the back of the left tank. All a bit of the unknown, since you can’t inspect much of the sealant on the inside joints once installed, so it’s all down to the setup.
And then a leak test later on … gulp!
Although it’s all straightforward, there’s a lot of preparation and several tasks to accomplish, so it took two of us most of a day’s work.
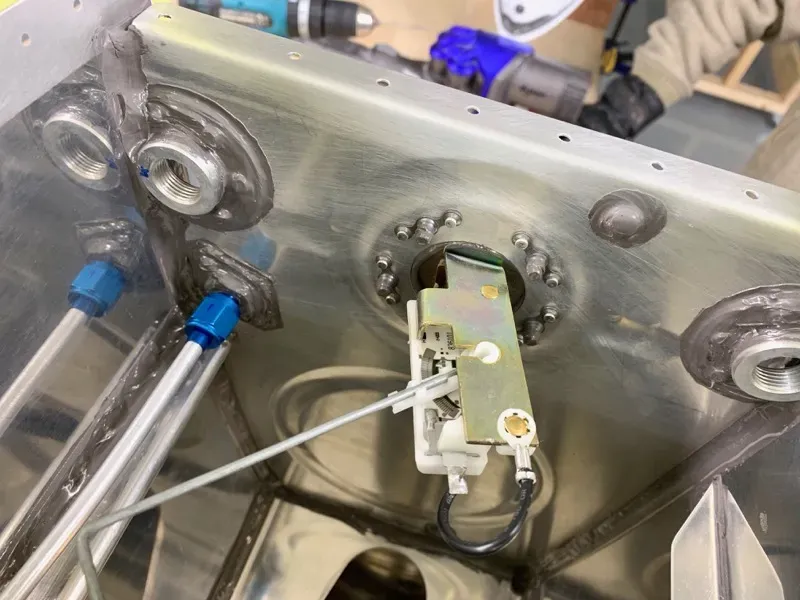
First job was to torque up the vent tube nut. I used a crow’s foot 9/16” wrench on my torque wrench, and torqued it to 52 in/lbs … as per advice by Van’s Scott McDaniels in this thread on the Vans Forum.
Next a check that the sender float all correct.
Scuffing
Easier to confine to relevant areas with a bit of masking.
Degreasing
Nasty, stinky MEK!
After a last careful inspection of the interior, and a hoover out, we were ready to go.
Proseal
Vans tell you to be careful not to add too much sealant to surfaces which will increase the depth of the tank, since this would cause problems later fitting to the wing. A “thin smear” is suggested.
Also not too fat a bead (“3/16”) along the baffle seams, for the same reason.
But of course, you do need a good seal … so this is what we did as a guess???
As you drop in the baffle, having been careful to orientate it correctly, the idea is that the bead is pushed into position and forms a seal.
I hope!
Similarly with the end rib flanges, especially in the corners.
Cleco Bonanza!
Lots of clecoes to clean later … groan.
At this stage we put a digital level on the structure just to confirm everything was true.
Also lots of double checking to be sure the Zee Brackets were installed correctly!
Although masking takes a while, when doing the job you can relax about all the mess … : )
I used my Pneumatic Pop Riveter for the Zee Bracket rivets, which proved quick and easy.
Remembering that the end brackets have 470’s however, which we drove with the gun and bucking bar.
The 426 skin rivets we eventually also bucked. We did try the squeezer, but with all the sealant about found results a bit variable. For some reason, rivets set with the gun were much more consistent.
We sealed the shop heads as we’ve done throughout the tank build … almost certainly an overkill but I’d rather do this and not have issues later.
But you do have to be careful not to overdo the thickness of the sealant towards the root, since clearance from the spar in this area is minimal (about 3mm).
I hope it’ll be OK … I’ll find out when I offer the tank up to the wing!
Left tank finished!
Well, nearly finished anyway. Vans do get you to leave a few rivets top & bottom un-countersunk, so that these clecoes fit accurately, to guarantee a true tank I guess. These holes will be countersunk and the rivets set when I get back from my work trip.
But all in all, a milestone reached. Feeling hopeful for a non-leaking left tank, but I’ll let you know : ) !
Now for the right tank.