
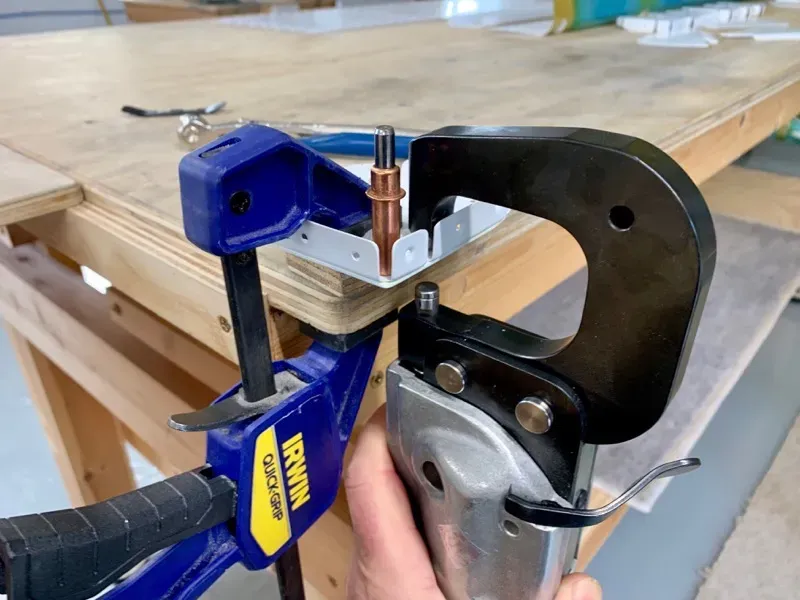
After all the preparation it was finally time to actually start assembling the flaps. I attached the Doublers & Nutplates to the Inboard Rod assembles first.
I was able to use the squeezer for riveting these pieces.
Hinges
Good old JC5 - much easier than that flipping Proseal : )
Whoever suggested I make my benches with their tops overhanging enough for clamping - thank you! I have used this constantly to anchor pieces for riveting etc.
I decided to squeeze the 426’s to set the double flush rivets in the Hinge “joggled” flanges.
Because of the raised portions, I was worried about using a rivet gun. It turned out well, once I’d worked out how to anchor everything.
I put some spacers between the hinges so I could clamp the assembly, and as advised fitted the bolt & bronze spacer in the hole to ensure correct alignment.
Ribs
Again, the squeezer did the job for most of the rib riveting.
There were a couple of ribs which needed the gun, together with a long set. By gently flexing the ribs it was easy to get access.
These were the outboard ribs, and …
… and one of the ribs next to the inboard hinge.
Here’s one of the Inboard Rod End showing the nutplate.
Spar assemblies all complete ready to attach the nose skins.