
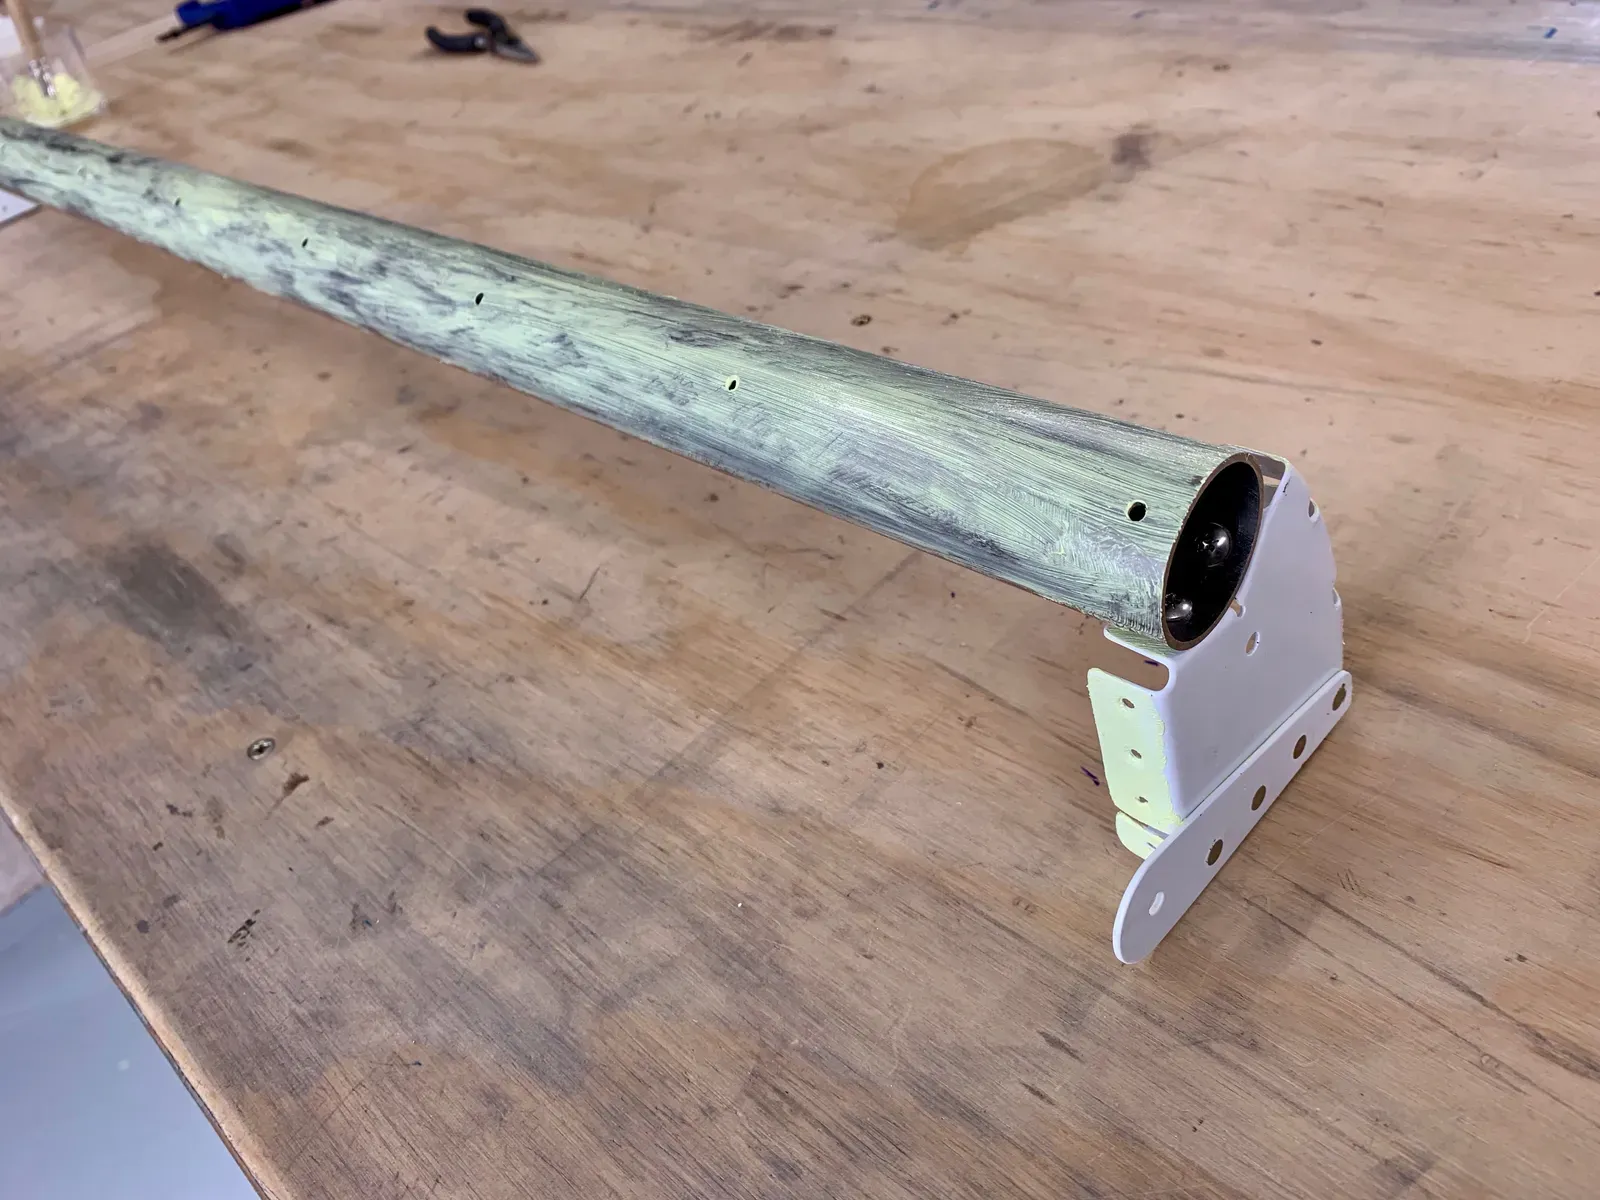
Here’s a counterbalance attached to the ribs.
Since this is stainless steel I did not prime the counterbalance tube, but made sure there was plenty of JC5A for corrosion protection where it touches the aluminium.
I wedged a screwdriver bit into the end of the screws, & prevented the screw turning with a spanner.
Then it was an easy job to torque the nuts.
Although not specified in the manual, I inserted a washer between the nuts and rib tabs.
I used the support brackets made for the flap construction to support the aileron nose skin/rib assembly.
They were a close enough fit, and useful for helping to squeeze the nose skin together around the rib profile.
With a bit of thought it was possible to set all the nose skin/rib rivets with the squeezer.
The manual advises to use MK-319-BS pop rivets for the two forward rivets in the two leading holes in each nose rib top tabs. They say damage may occur if solid rivets are used.
I don’t really understand why this is the case, since solid rivets are used in equivalent positions on the flaps. But normally it’s a top tip to follow Van’s advice, so I did!
Once the ribs are all riveted in place, the spar is dropped in to position and pop riveted onto the rear rib tabs.
As advised in the manual I clamped a straight edge on the aft edge of the top skin to keep it stable during riveting.
As was the case when riveting the flap skins, we found a 426AD3-4 was a better length rivet than the specified -3.5’s for the skin/spar rivets.
The outboard rib tabs are attached with 470’s, and I needed a long rivet set to gain access for this job…
… and a thin bucking bar to fit between the hinge brackets.
Here’s the left aileron with the top skin & ribs riveted.
Next job is to assemble the R Aileron up to the same stage.