
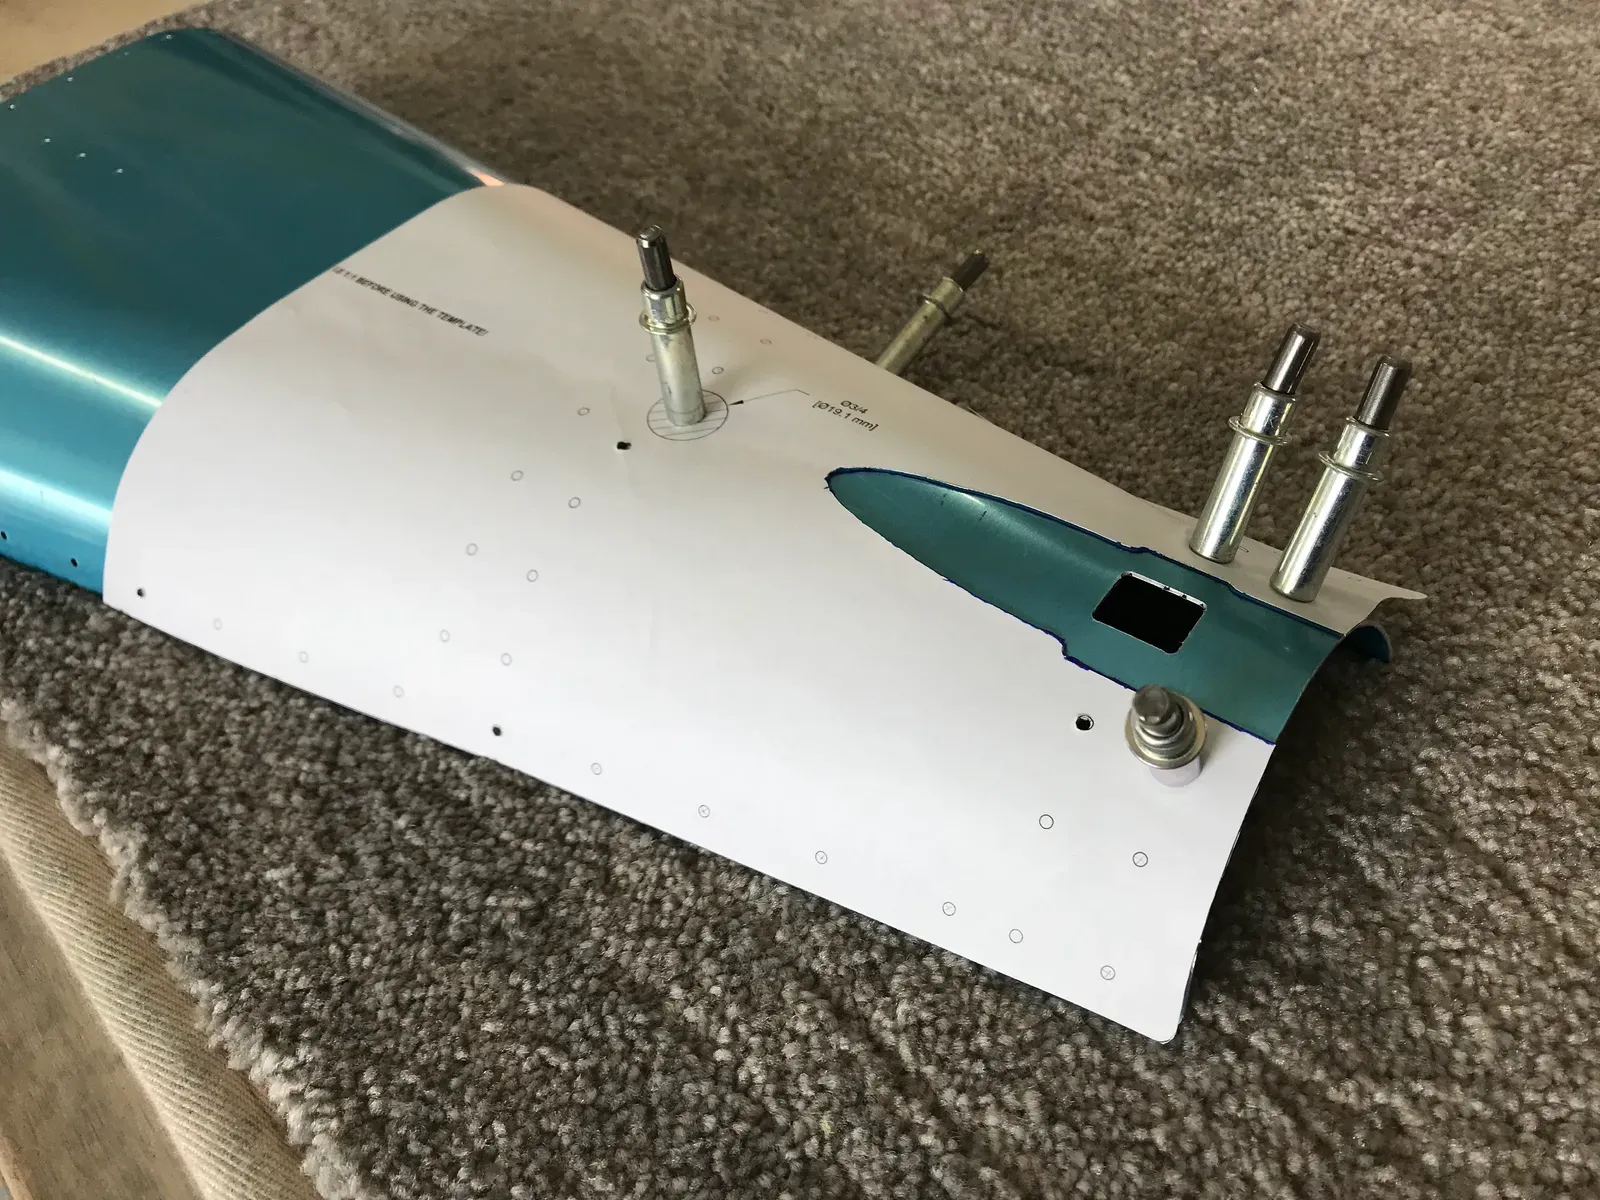
The lower aft skin required edges trimming to size, holes step drilled and a shape cut out to accommodate the tailwheel support. There is a template in the manual, which I carefully cut out and clecoed to the piece. I’d like to claim I thought of that, but credit must go to a fellow builder in Scotland! Top idea! After inking around the shape, I used the bandsaw to cut just undersize, then finished off with files.
I used the step drill to open up the two holes required, the front one to 9/16 and the rear to 3/4. My step drill didn’t have exactly 9/16, but was within a gnat’s whisker, and the hole drilling went fine. I thought the 3/4 one went fine as well, but when I stood back in the aftermath I realised it must have wandered slightly to the left whilst drilling. The hole is to allow access for a socket to secure the tailwheel, so I don’t think it’s an issue, but annoying!

Lesson learnt ... large hole step drilling needs clamping!
Dimpling
After the side skin lower edges had been “broken” (the slight bend to help ensure a nice flat fit), the holes could be dimpled. A few holes are NOT dimpled, so be careful. The DRDT reached OK, but I used a reduced diameter die on the curved sections. On the curved edge it was easier to use the squeezer.
Priming
Once everything dimpled, time for the usual scuff, degrease & prime saga.