
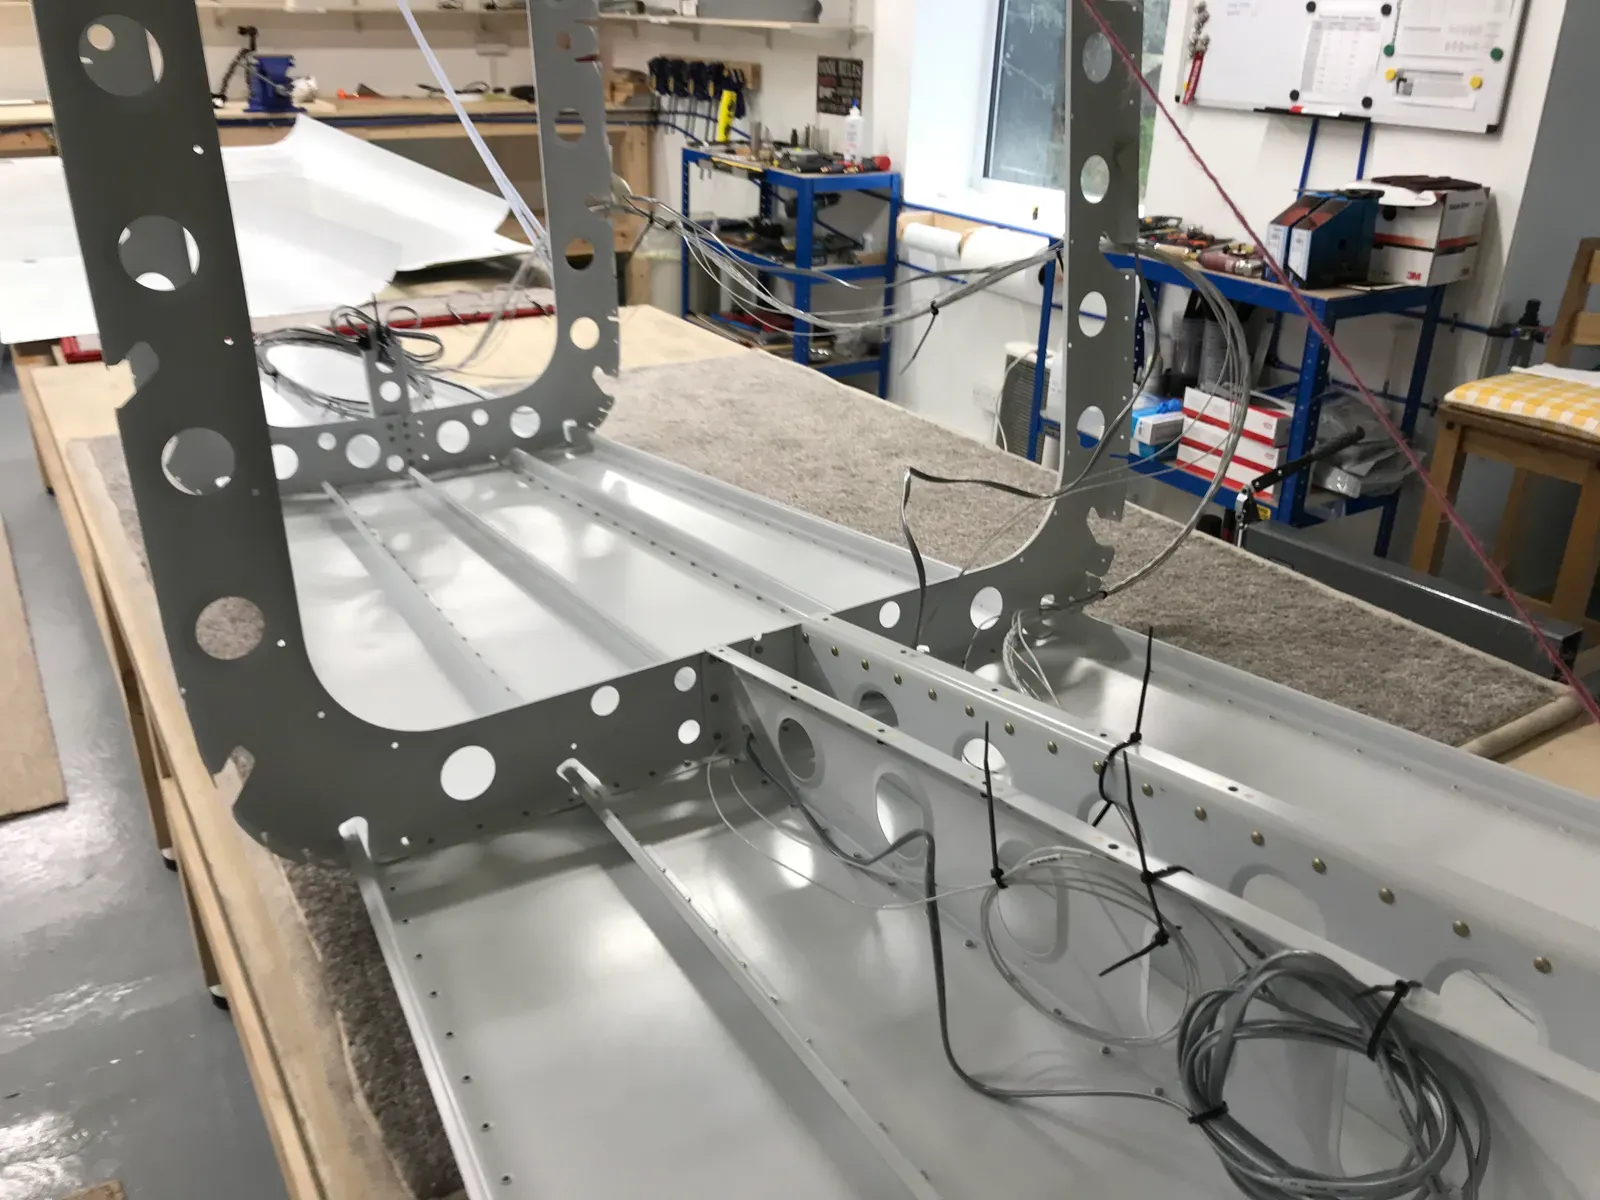
Before the side skins are attached to the structure a couple of wiring harnesses have to be routed loosely. This is because the wires sit on the top of the left side middle J Stiffener, and once assembled the plugs won’t fit through the cutouts in the bulkheads. It took a while to get my head around harness WH-00057 … in fact I’m still trying to find out at the moment if mine is correct. The manual implies there are two TP881 Green wires, and mine only has one. But the test paperwork that comes with the harness only mentions one TP881. So I’m pretty sure that the manual is incorrect, but we’ll see?
Longerons and J Stiffeners
Assembly of the structure begins with it upside down on suitable tressles … this seems a good plan since the cutouts in the bulkheads are orientated so that when the stiffeners are lodged in place in preparation for attaching the L side skin they don’t fall out. Well, that’s the theory. The wiring harness in the middle one made it continually fall out, so some temporary taping needed.
Things become secure once the skin is clecoed. Having a helper for this stage made it much easier!
The manual suggests you turn everything right way up to attach the right side pieces. But we found it easier to keep it upside down, since the cutouts in the bulkheads again helped support the stiffeners prior to attaching the side skin. Also a bit easier to cleco maybe. But you have to find a support for the narrow rear which fits inside the restricted width available.
Once all clecoed in place and secure, the rear can again be supported on a tressle. The two longerons extend a long way at the front, and look a bit vulnerable…hence the yellow boxes! Don’t want to walk into them and cause havoc!